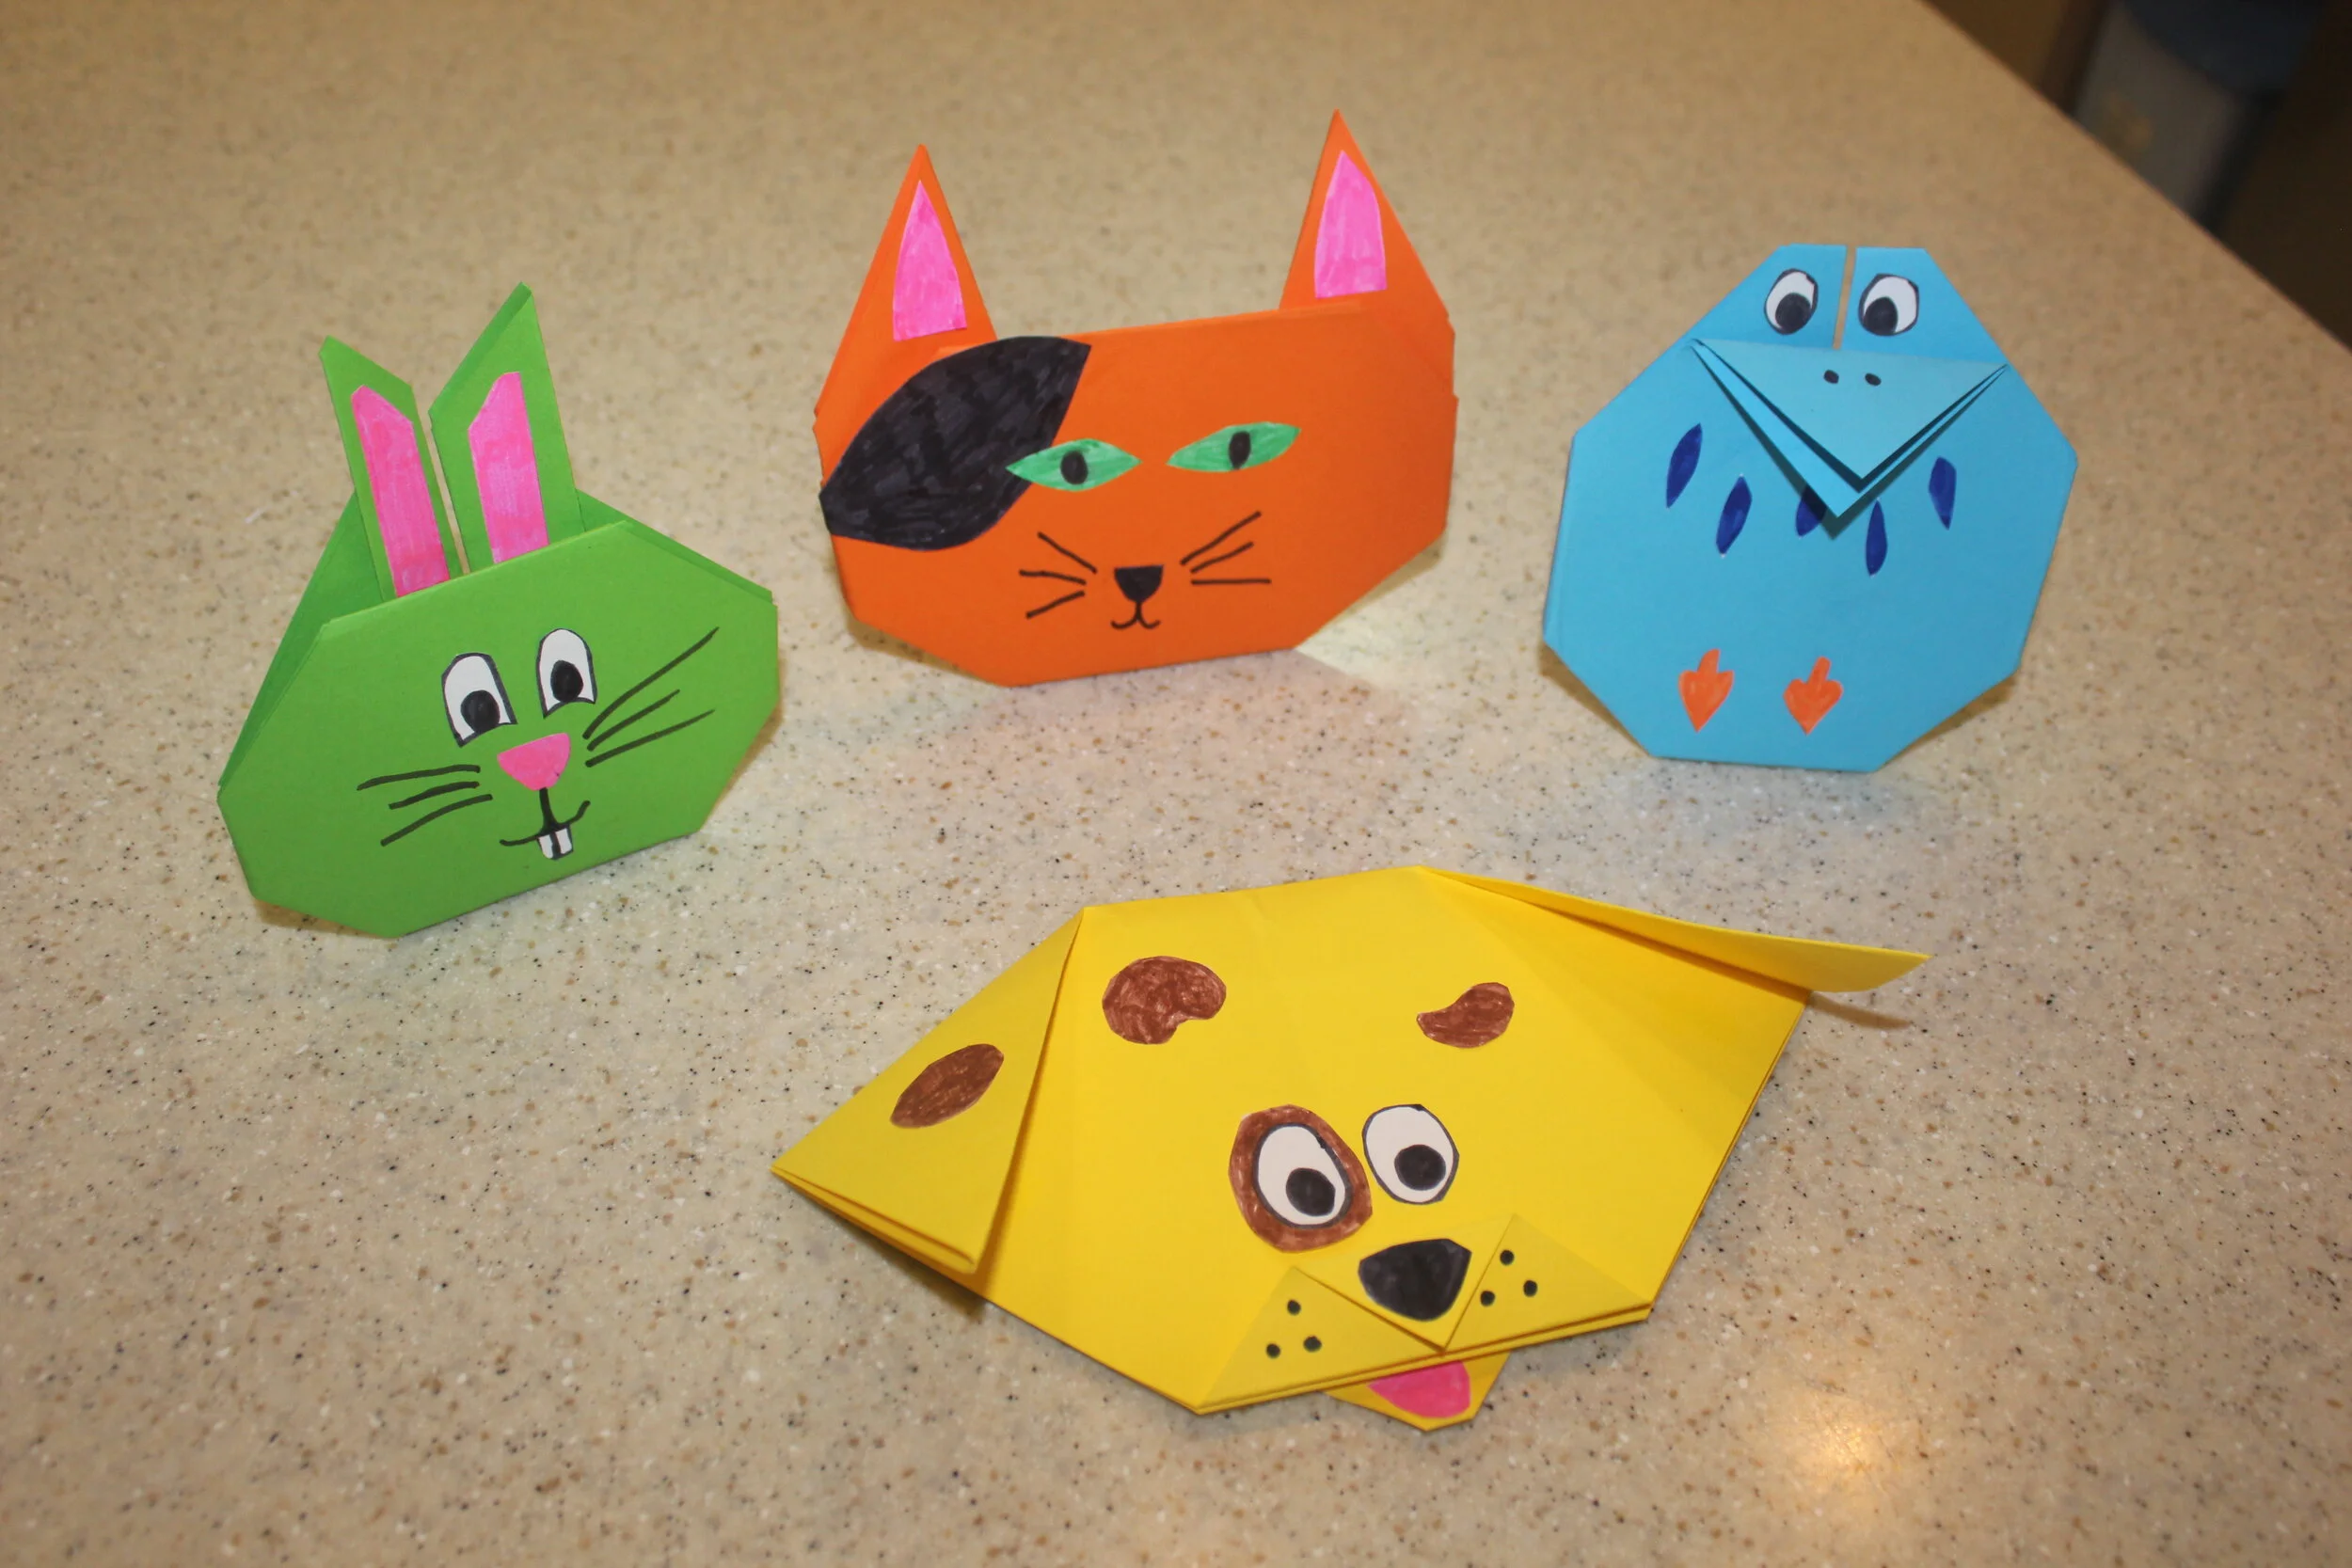
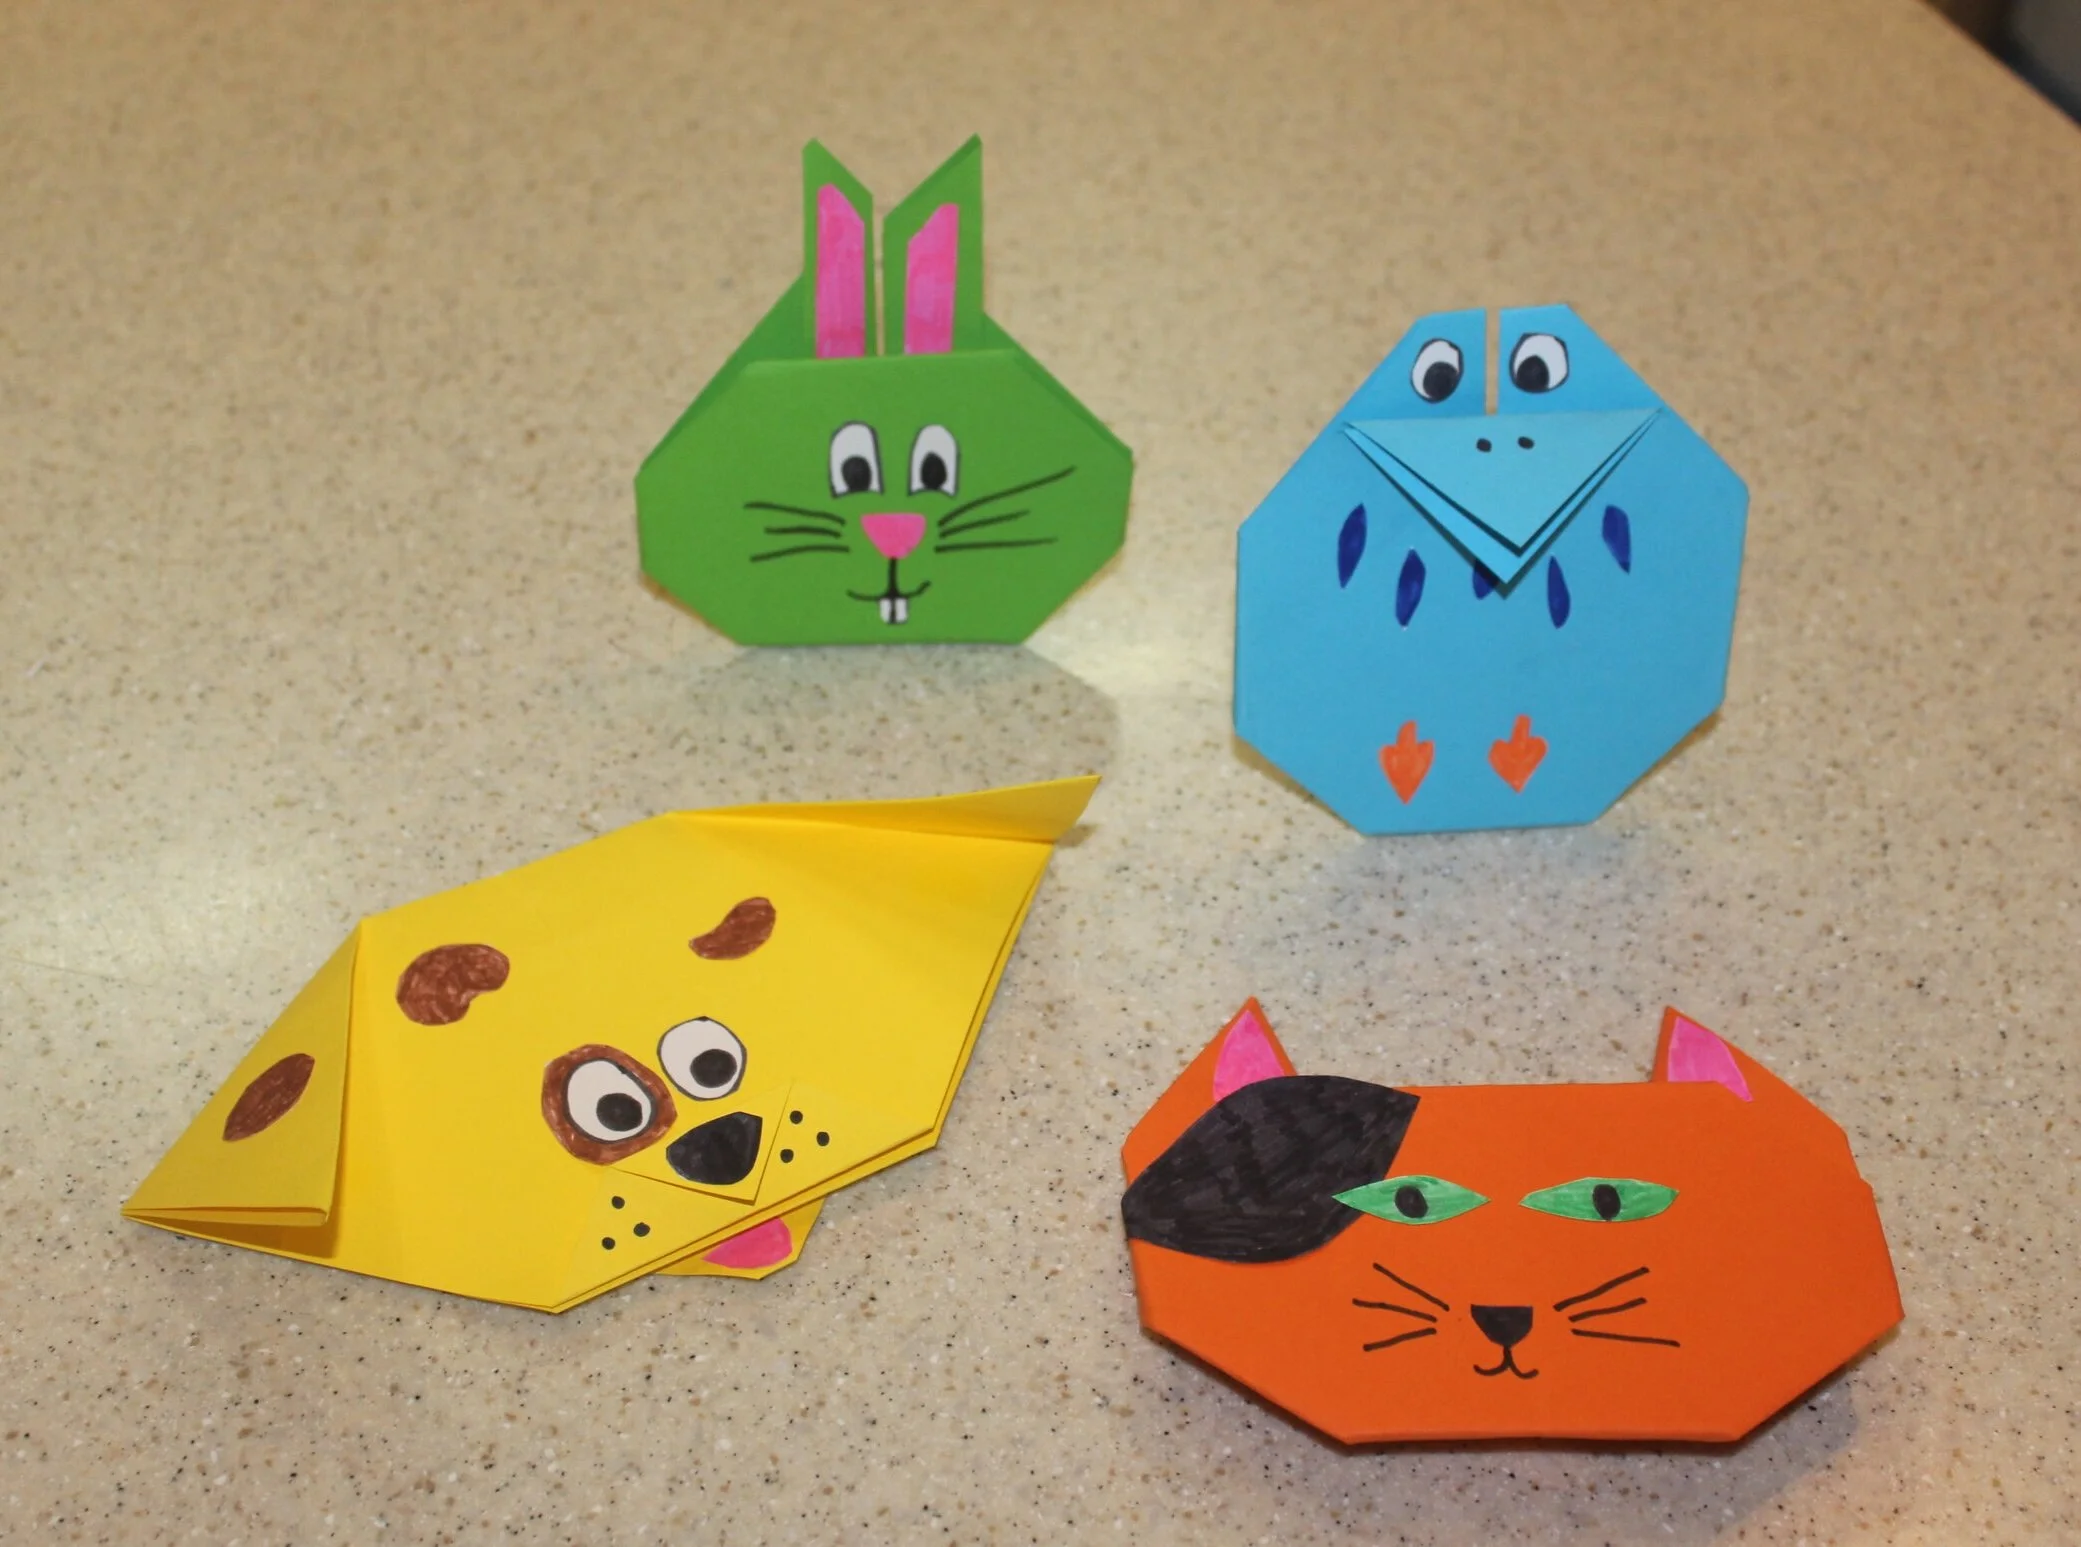
Follow these steps to make your own personalised origami pet
Want to make a miniature version of your own pet? Origami pets are easy to fold, fun to decorate and super cool to play with. They also look great displayed in your room. So grab some paper, some markers and lets get folding!
Ask an adult to help you with cutting as scissors can be sharp.
What you will need
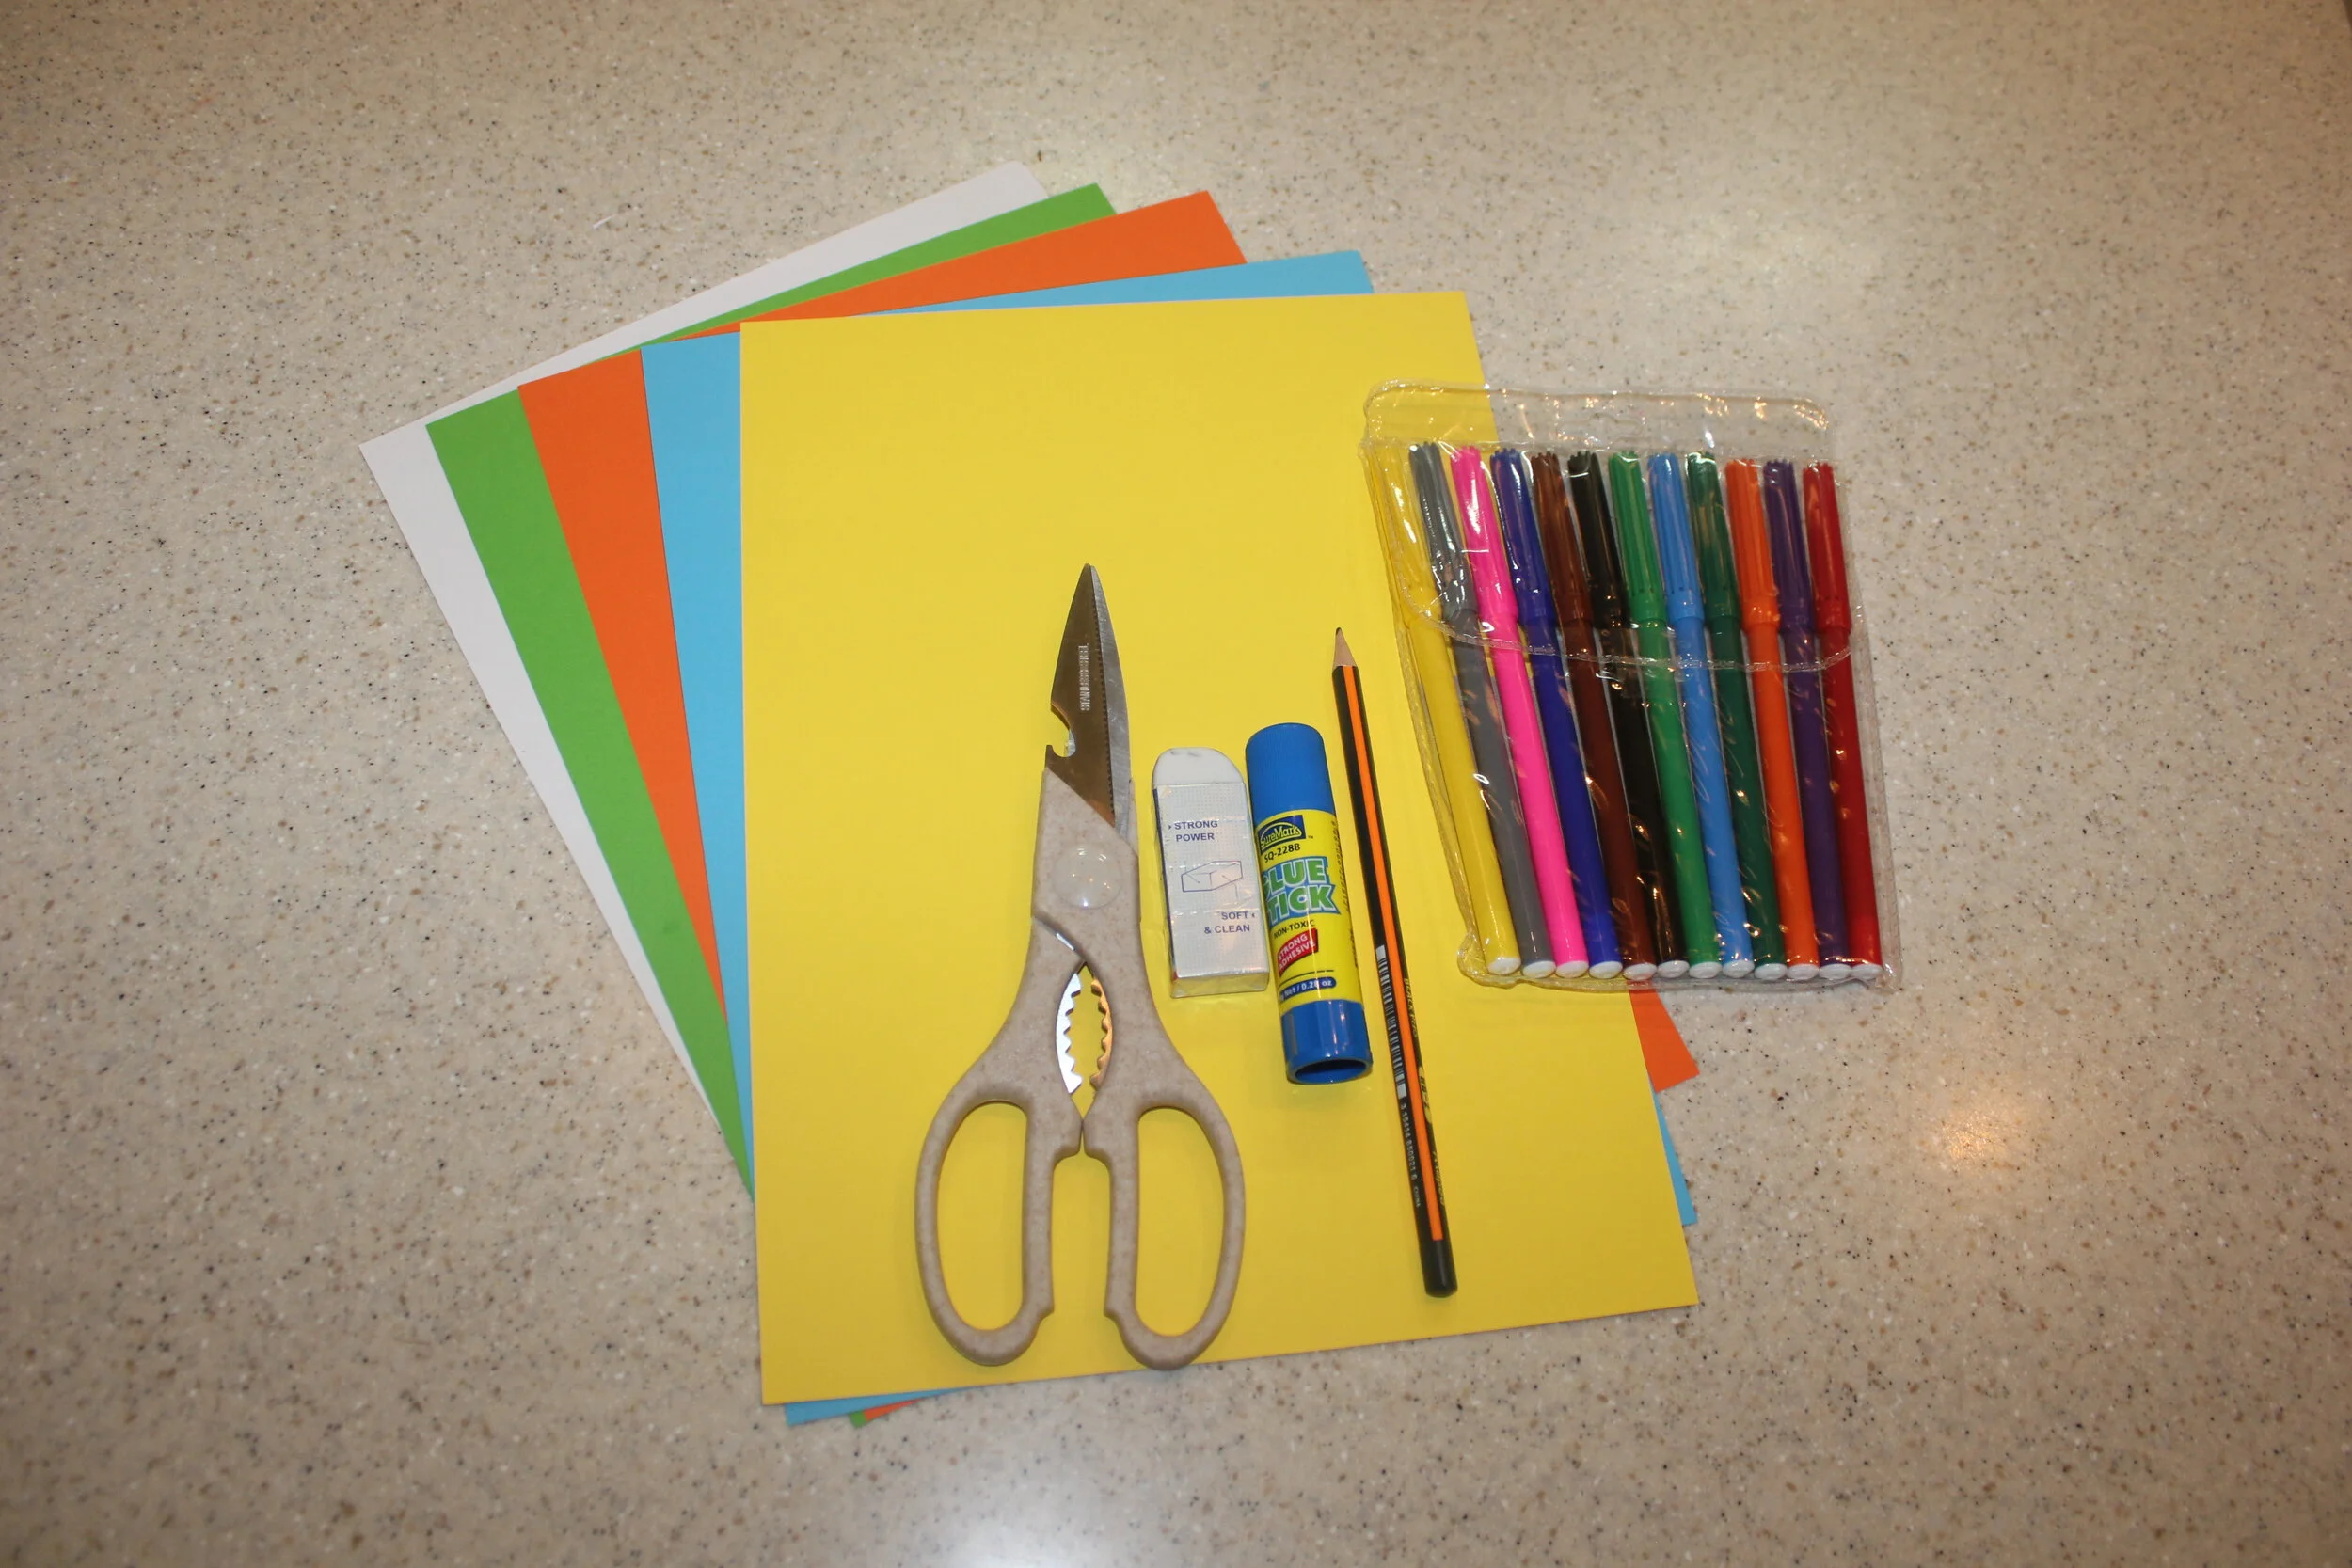
Several sheets of A4 or square coloured paper
1-2 sheets of A4 white paper
Scissors
A pencil
Eraser
Glue
Coloured markers
How to make an origami dog
Creating your diamond
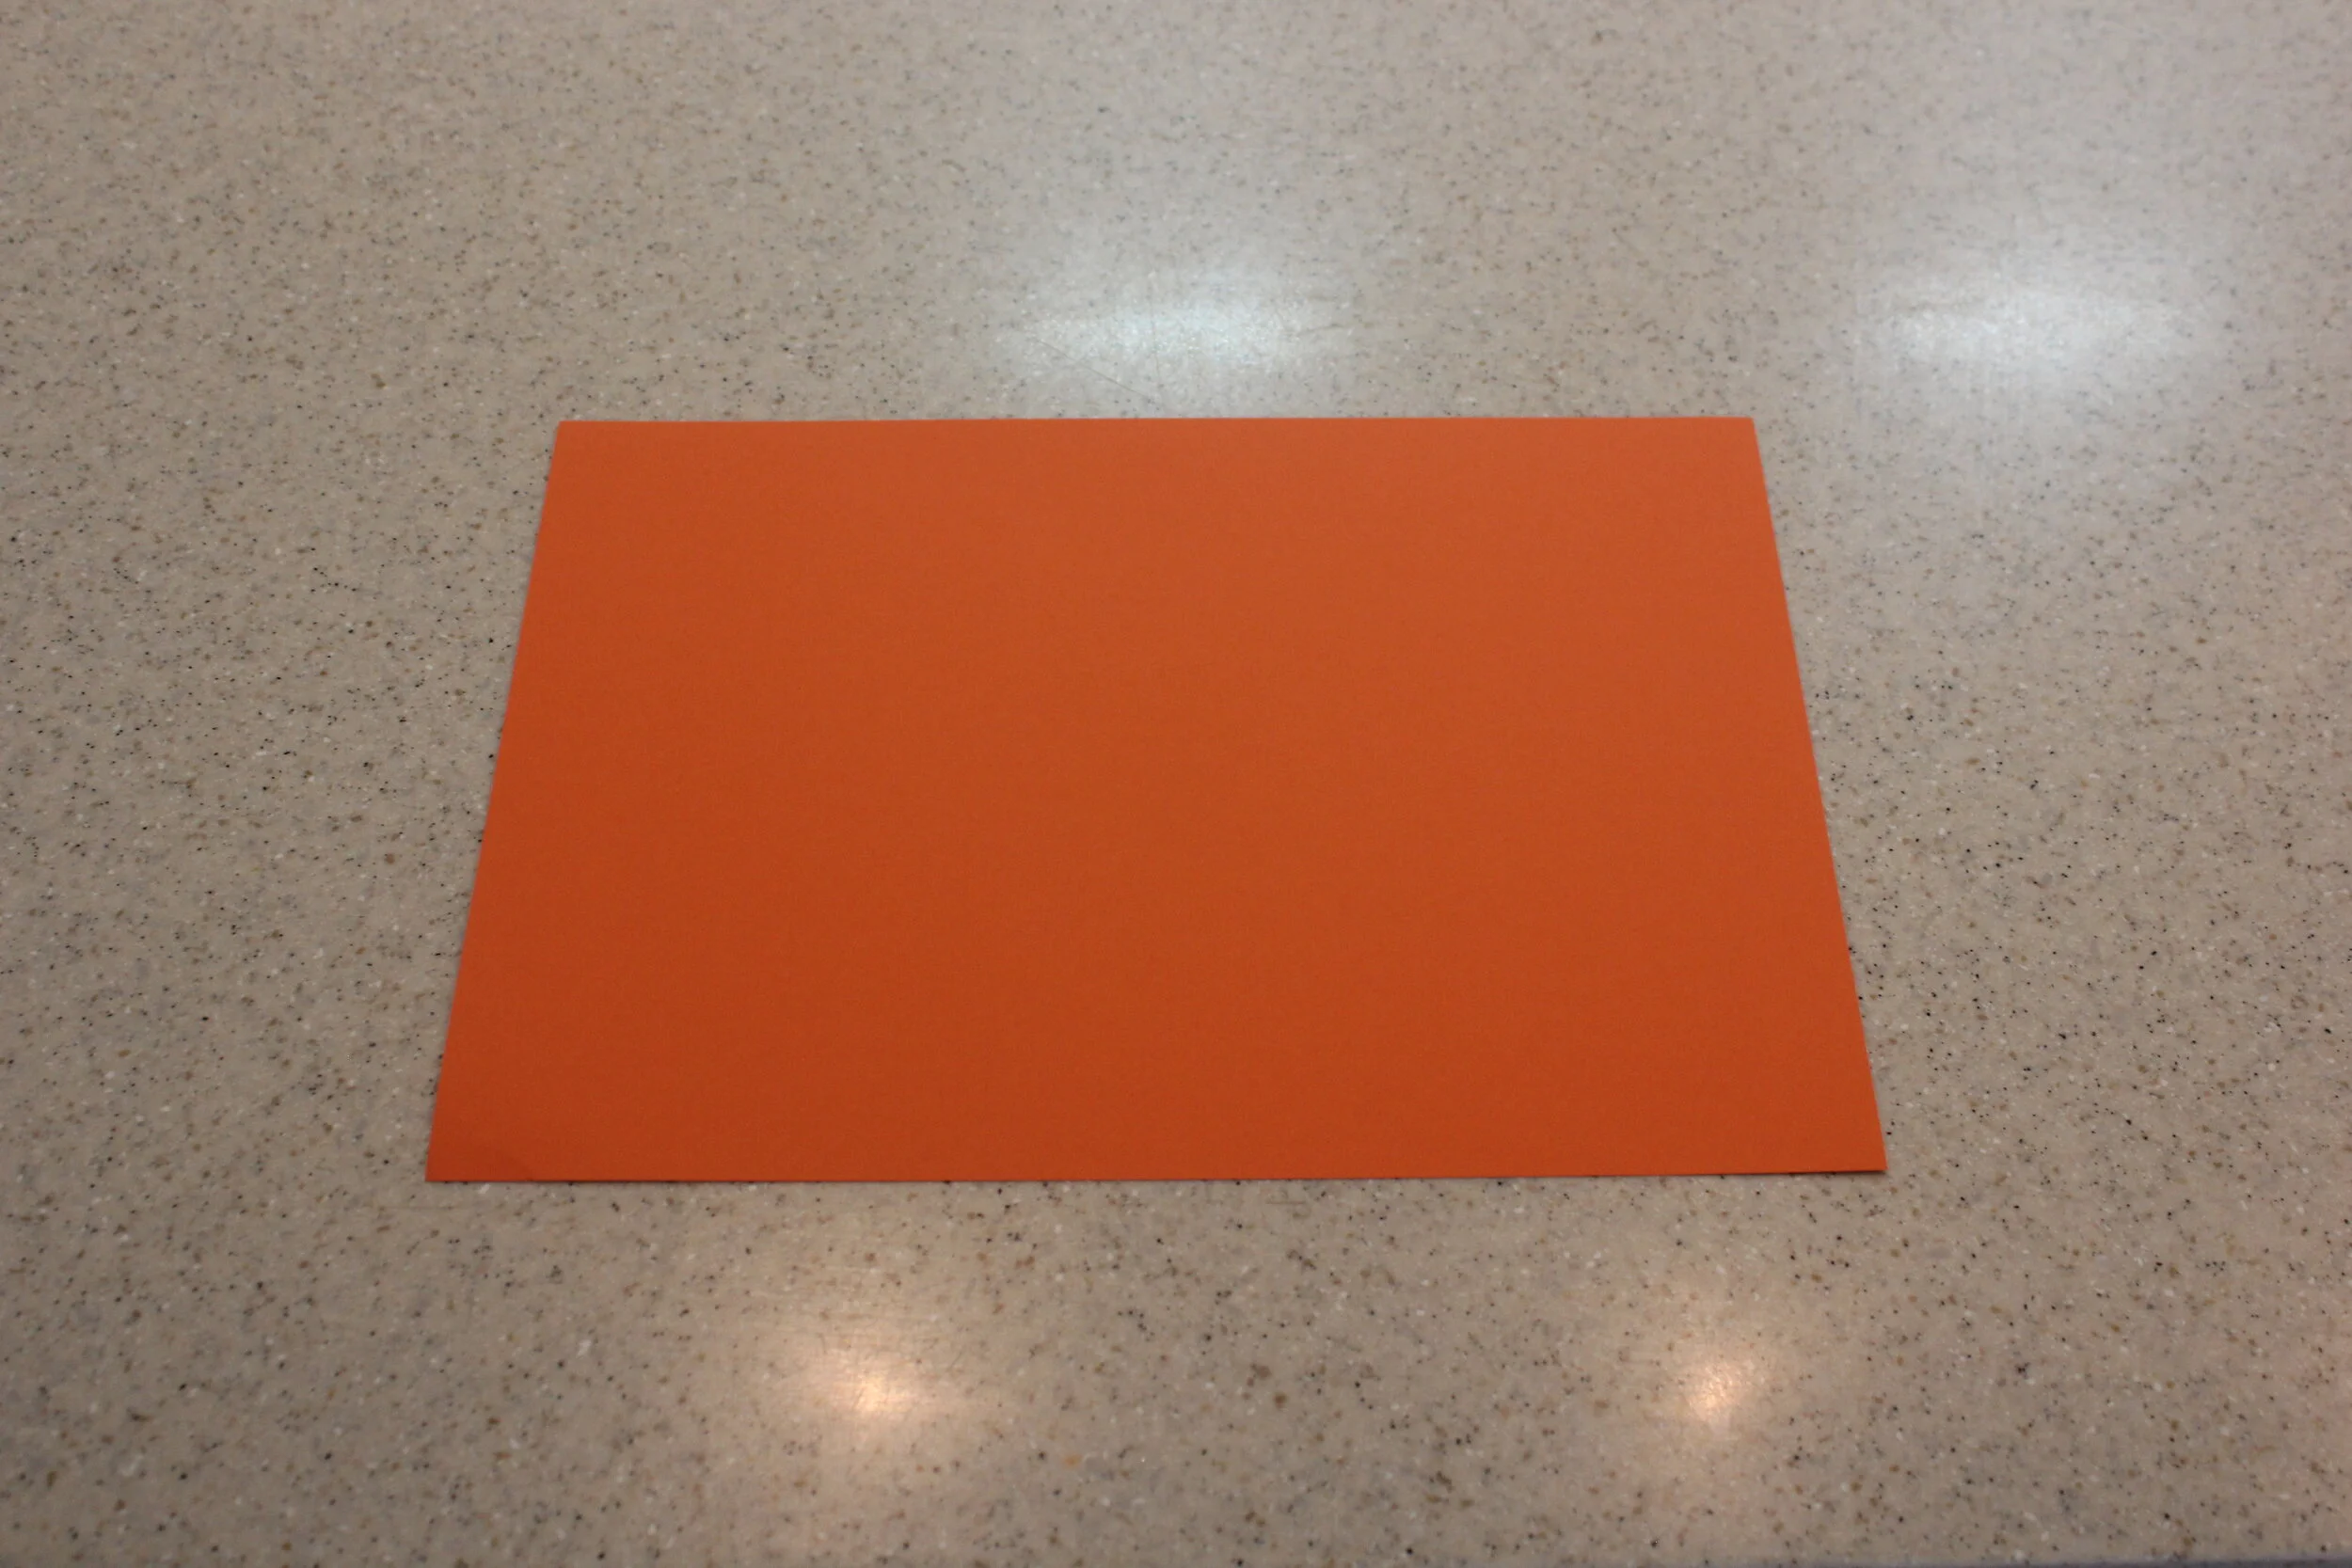
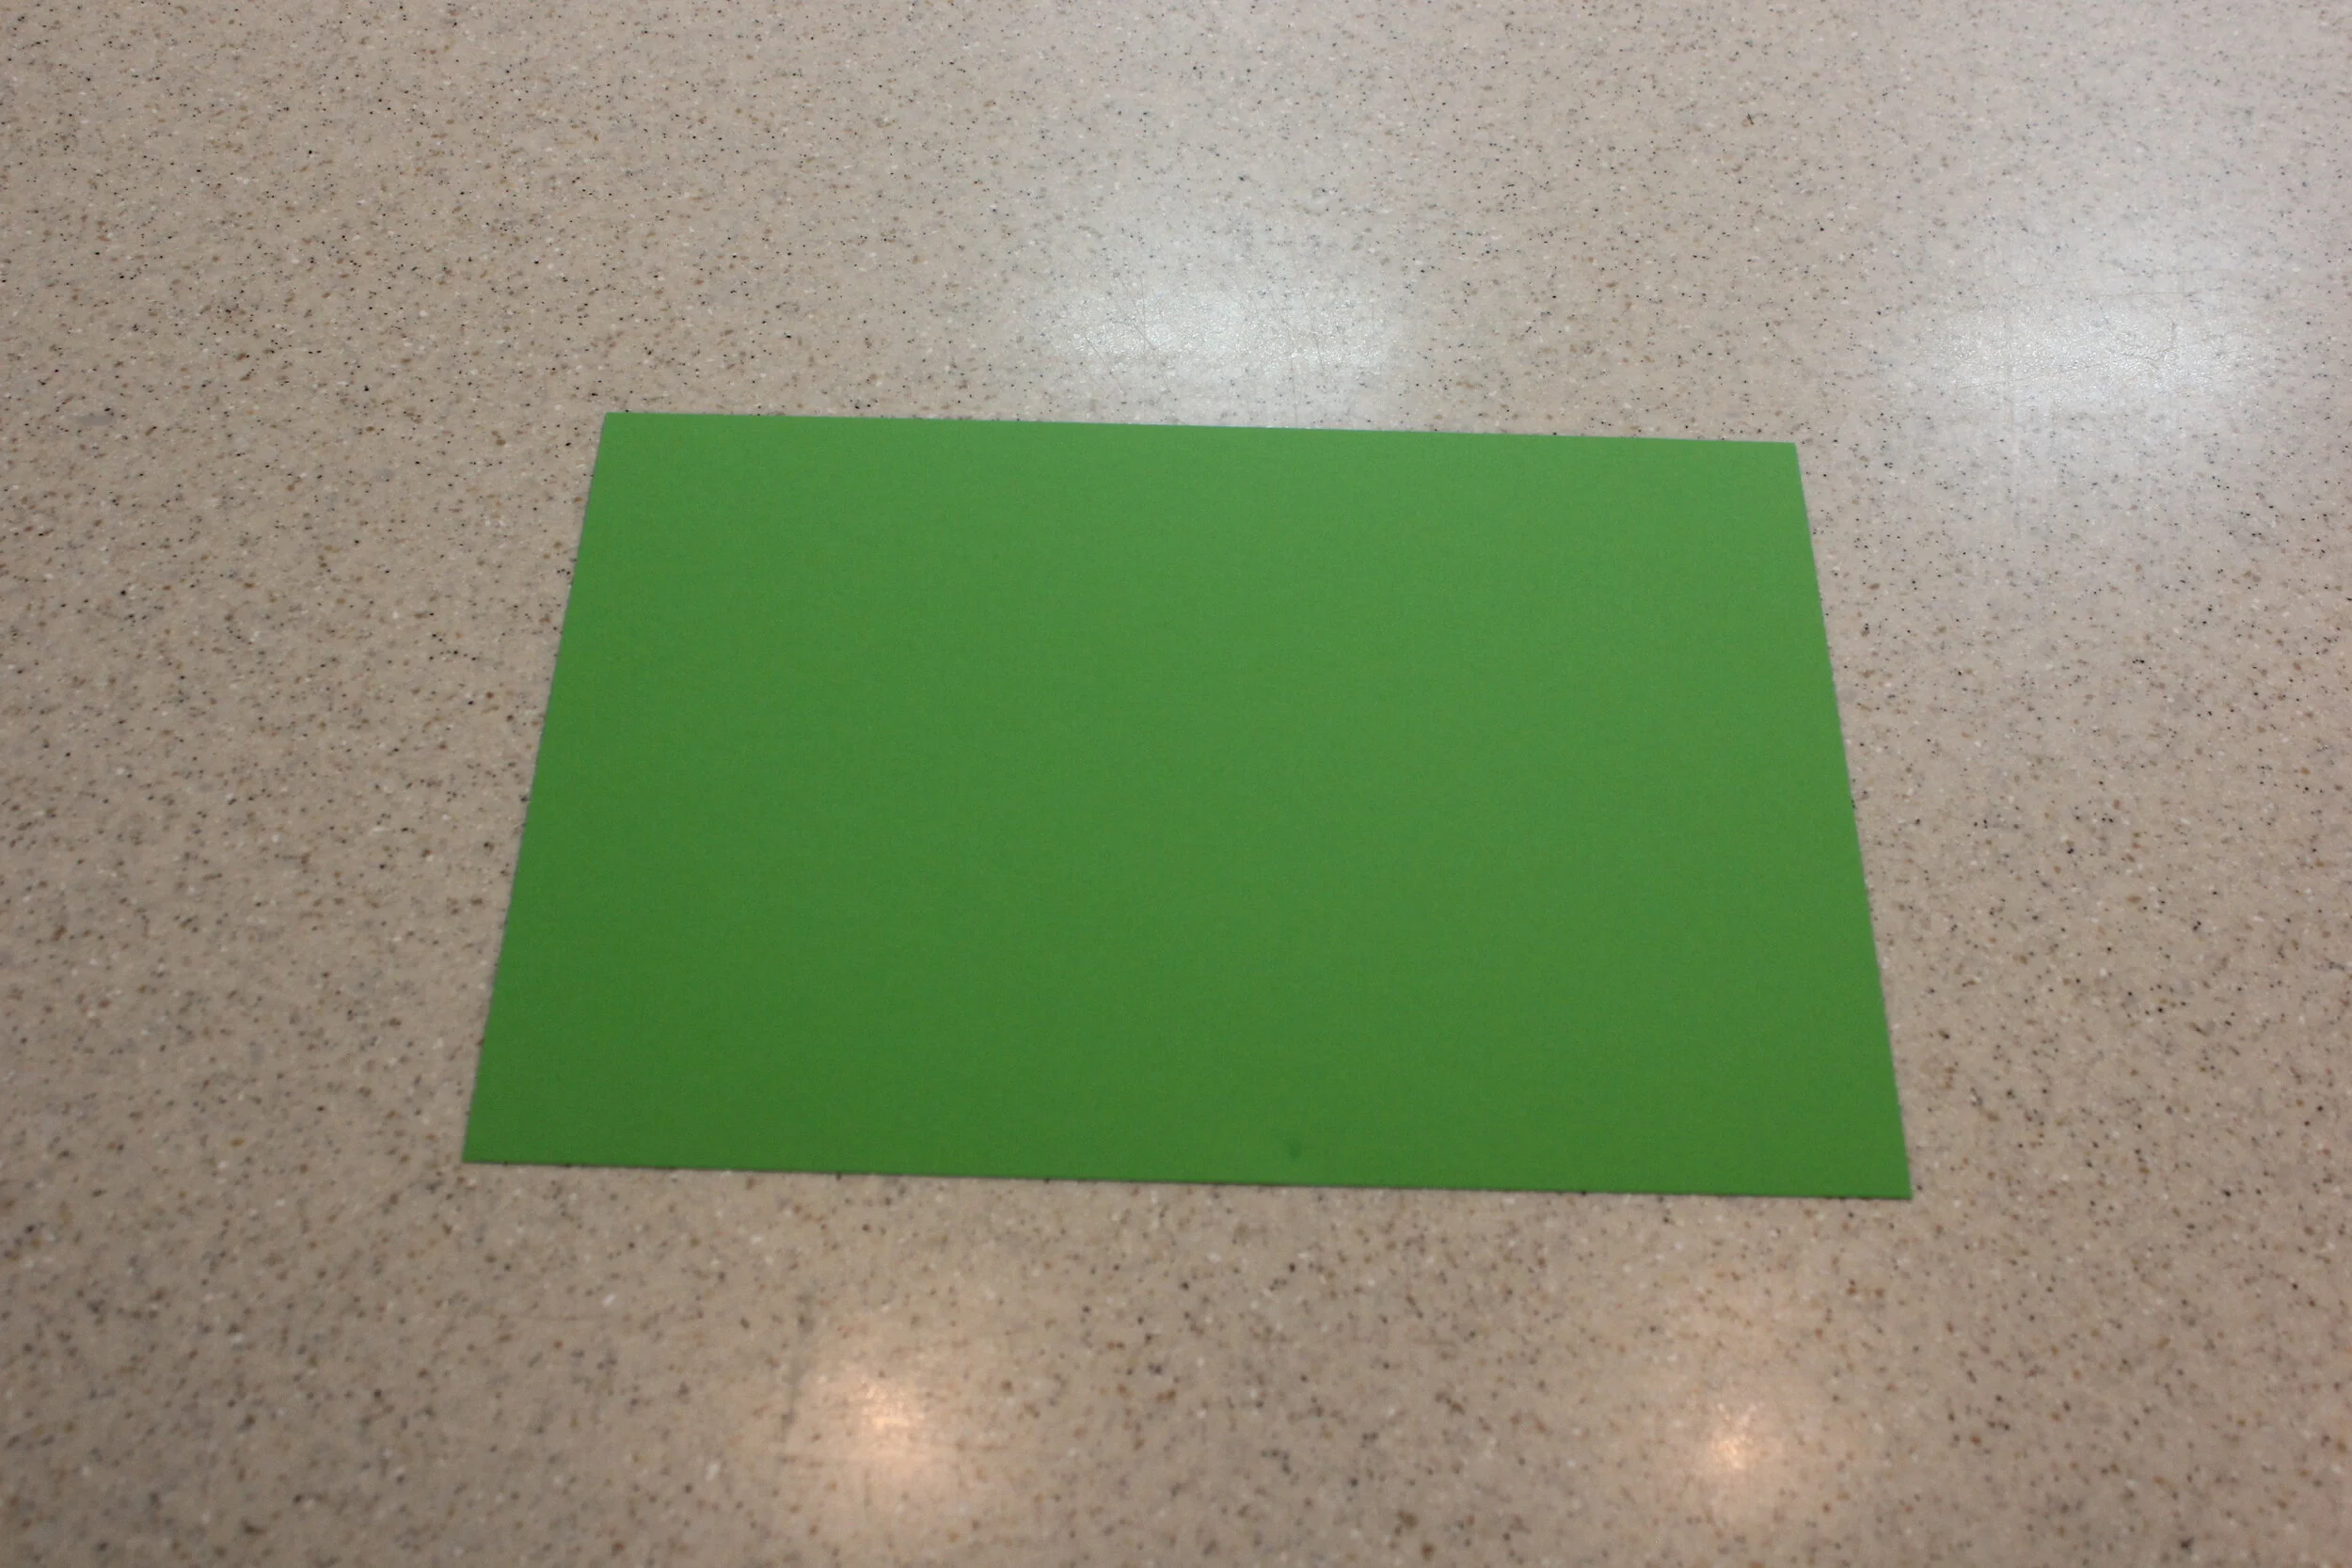
Take your A4 or square sheet of coloured paper (this will be the body colour of your dog).
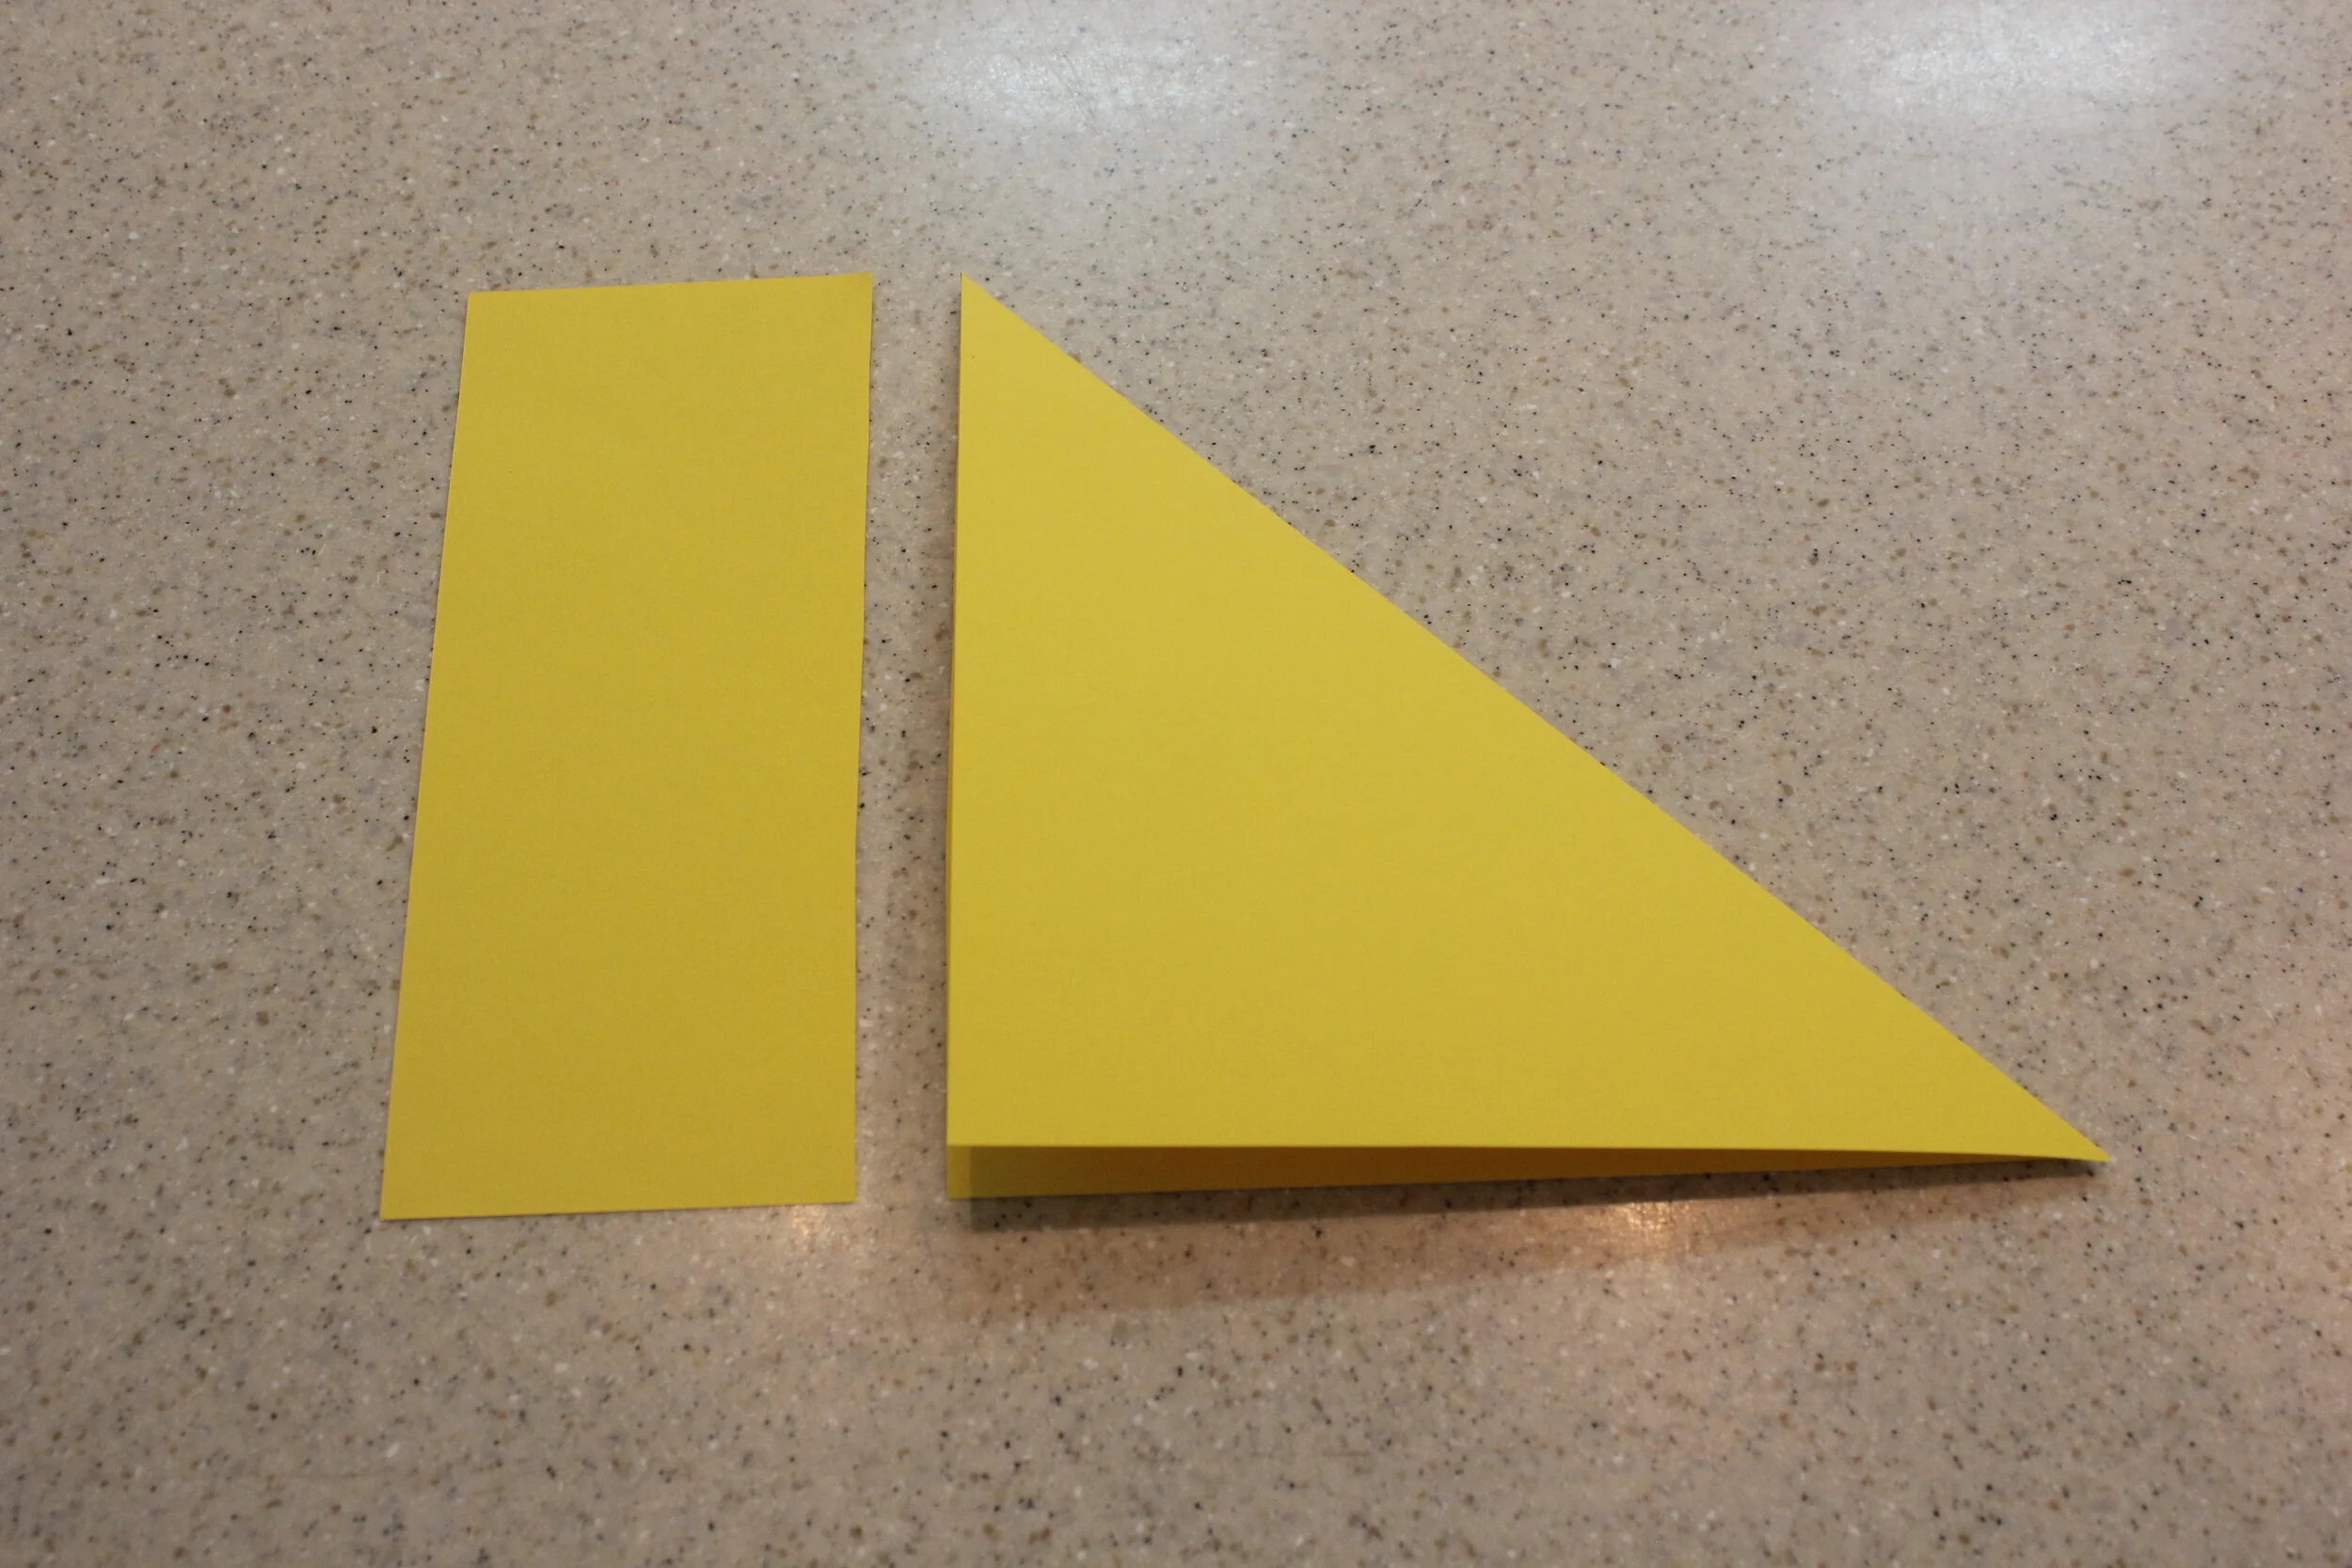
Fold it over one corner to create a triangle.
Cut off the excess (ask an adult for help as scissors can be sharp). You will not need to do this if you already have a square sheet of paper.
Rotate your triangle so the folded long edge is at the top and the open point is at the bottom (refer to last photo).
Creating your dog’s ears
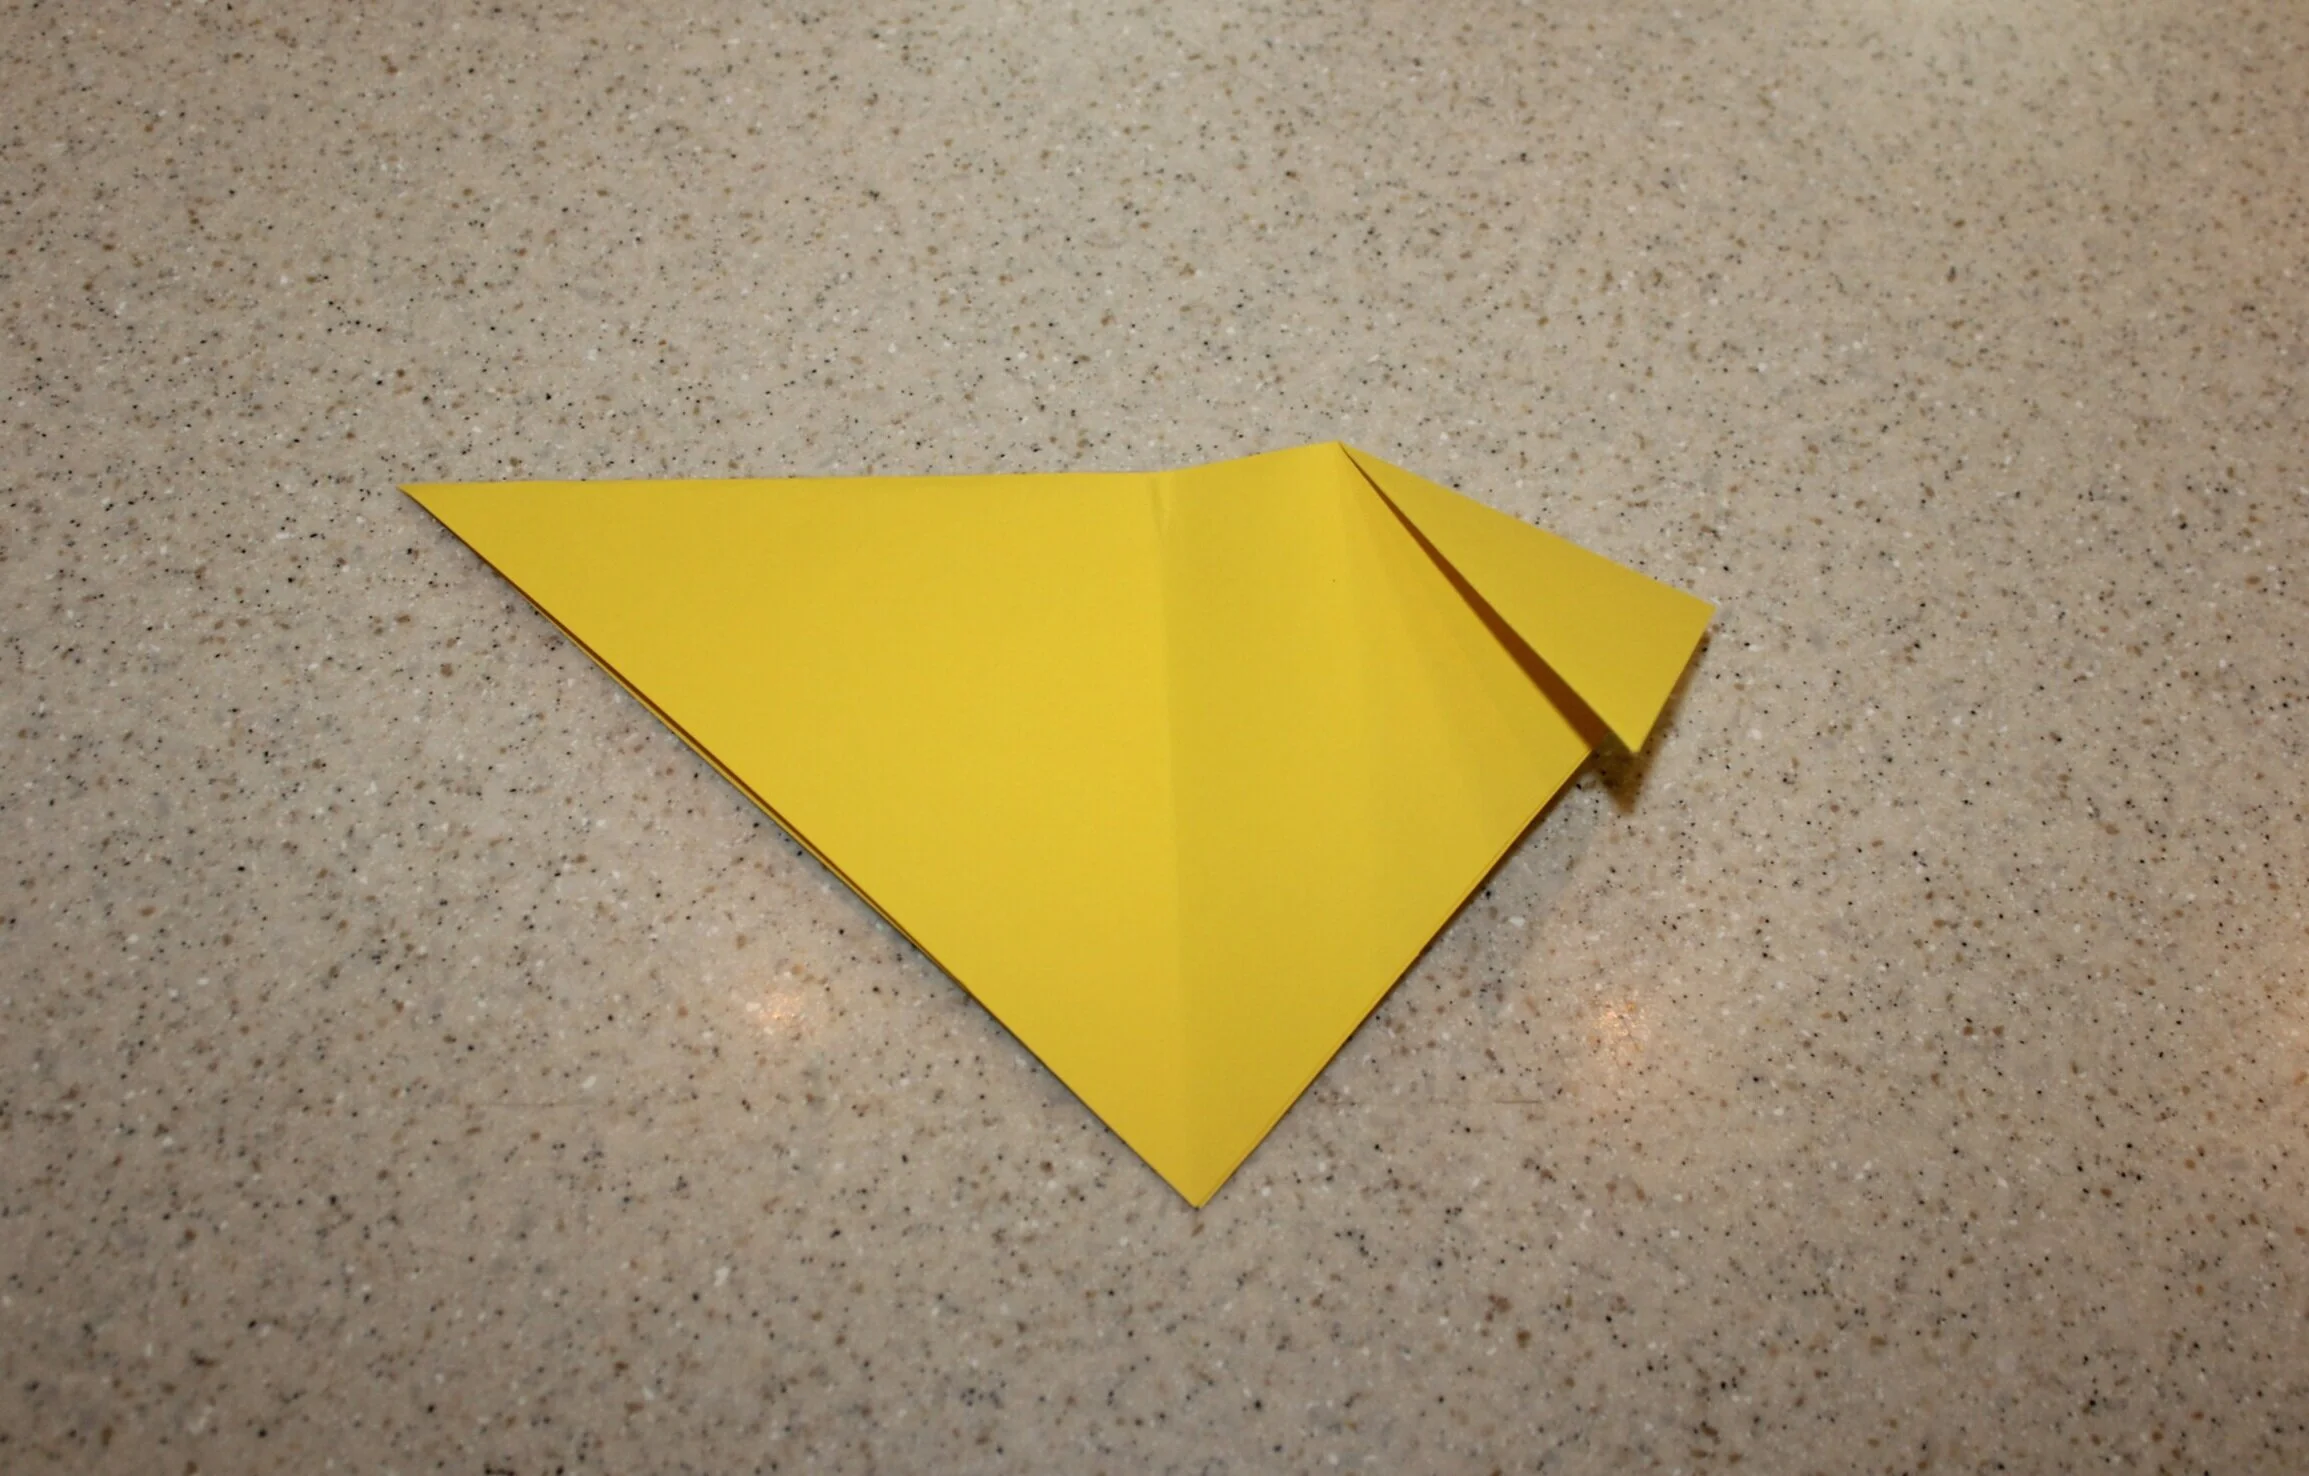
Fold the triangle in half.
Fold this back open.
Fold down the two top corners, leaving a small gap at the top of the middle crease. You have now created your dog’s ears!
Creating your dog’s nose
You will notice two sheets at the bottom corner. Fold one forward and the other behind.
Flip your dog back over so the folded ears are facing forward.
Fold the bottom triangle down half way to meet your dog’s chin. You have now created your dog’s nose!
Creating your dog’s tongue
Flip your dog over and fold the triangle partly down so it is hanging down past your dog’s chin.
Fold the point of your triangle up to give a better shape to your dog’s tongue.
Flip your dog over. You have now created your dog’s tongue!
Decorating your dog
This is the fun part, its time to decorate your dog!
Grab your white paper and draw a nose, eyes, tongue and patches (or any other special markings that your pet has).
Colour these in and cut them out. You can also use coloured paper instead.
Experiment around to see where you would like these extra pieces, then glue them down with a glue stick. Draw on some whiskers or whisker dots around the nose.
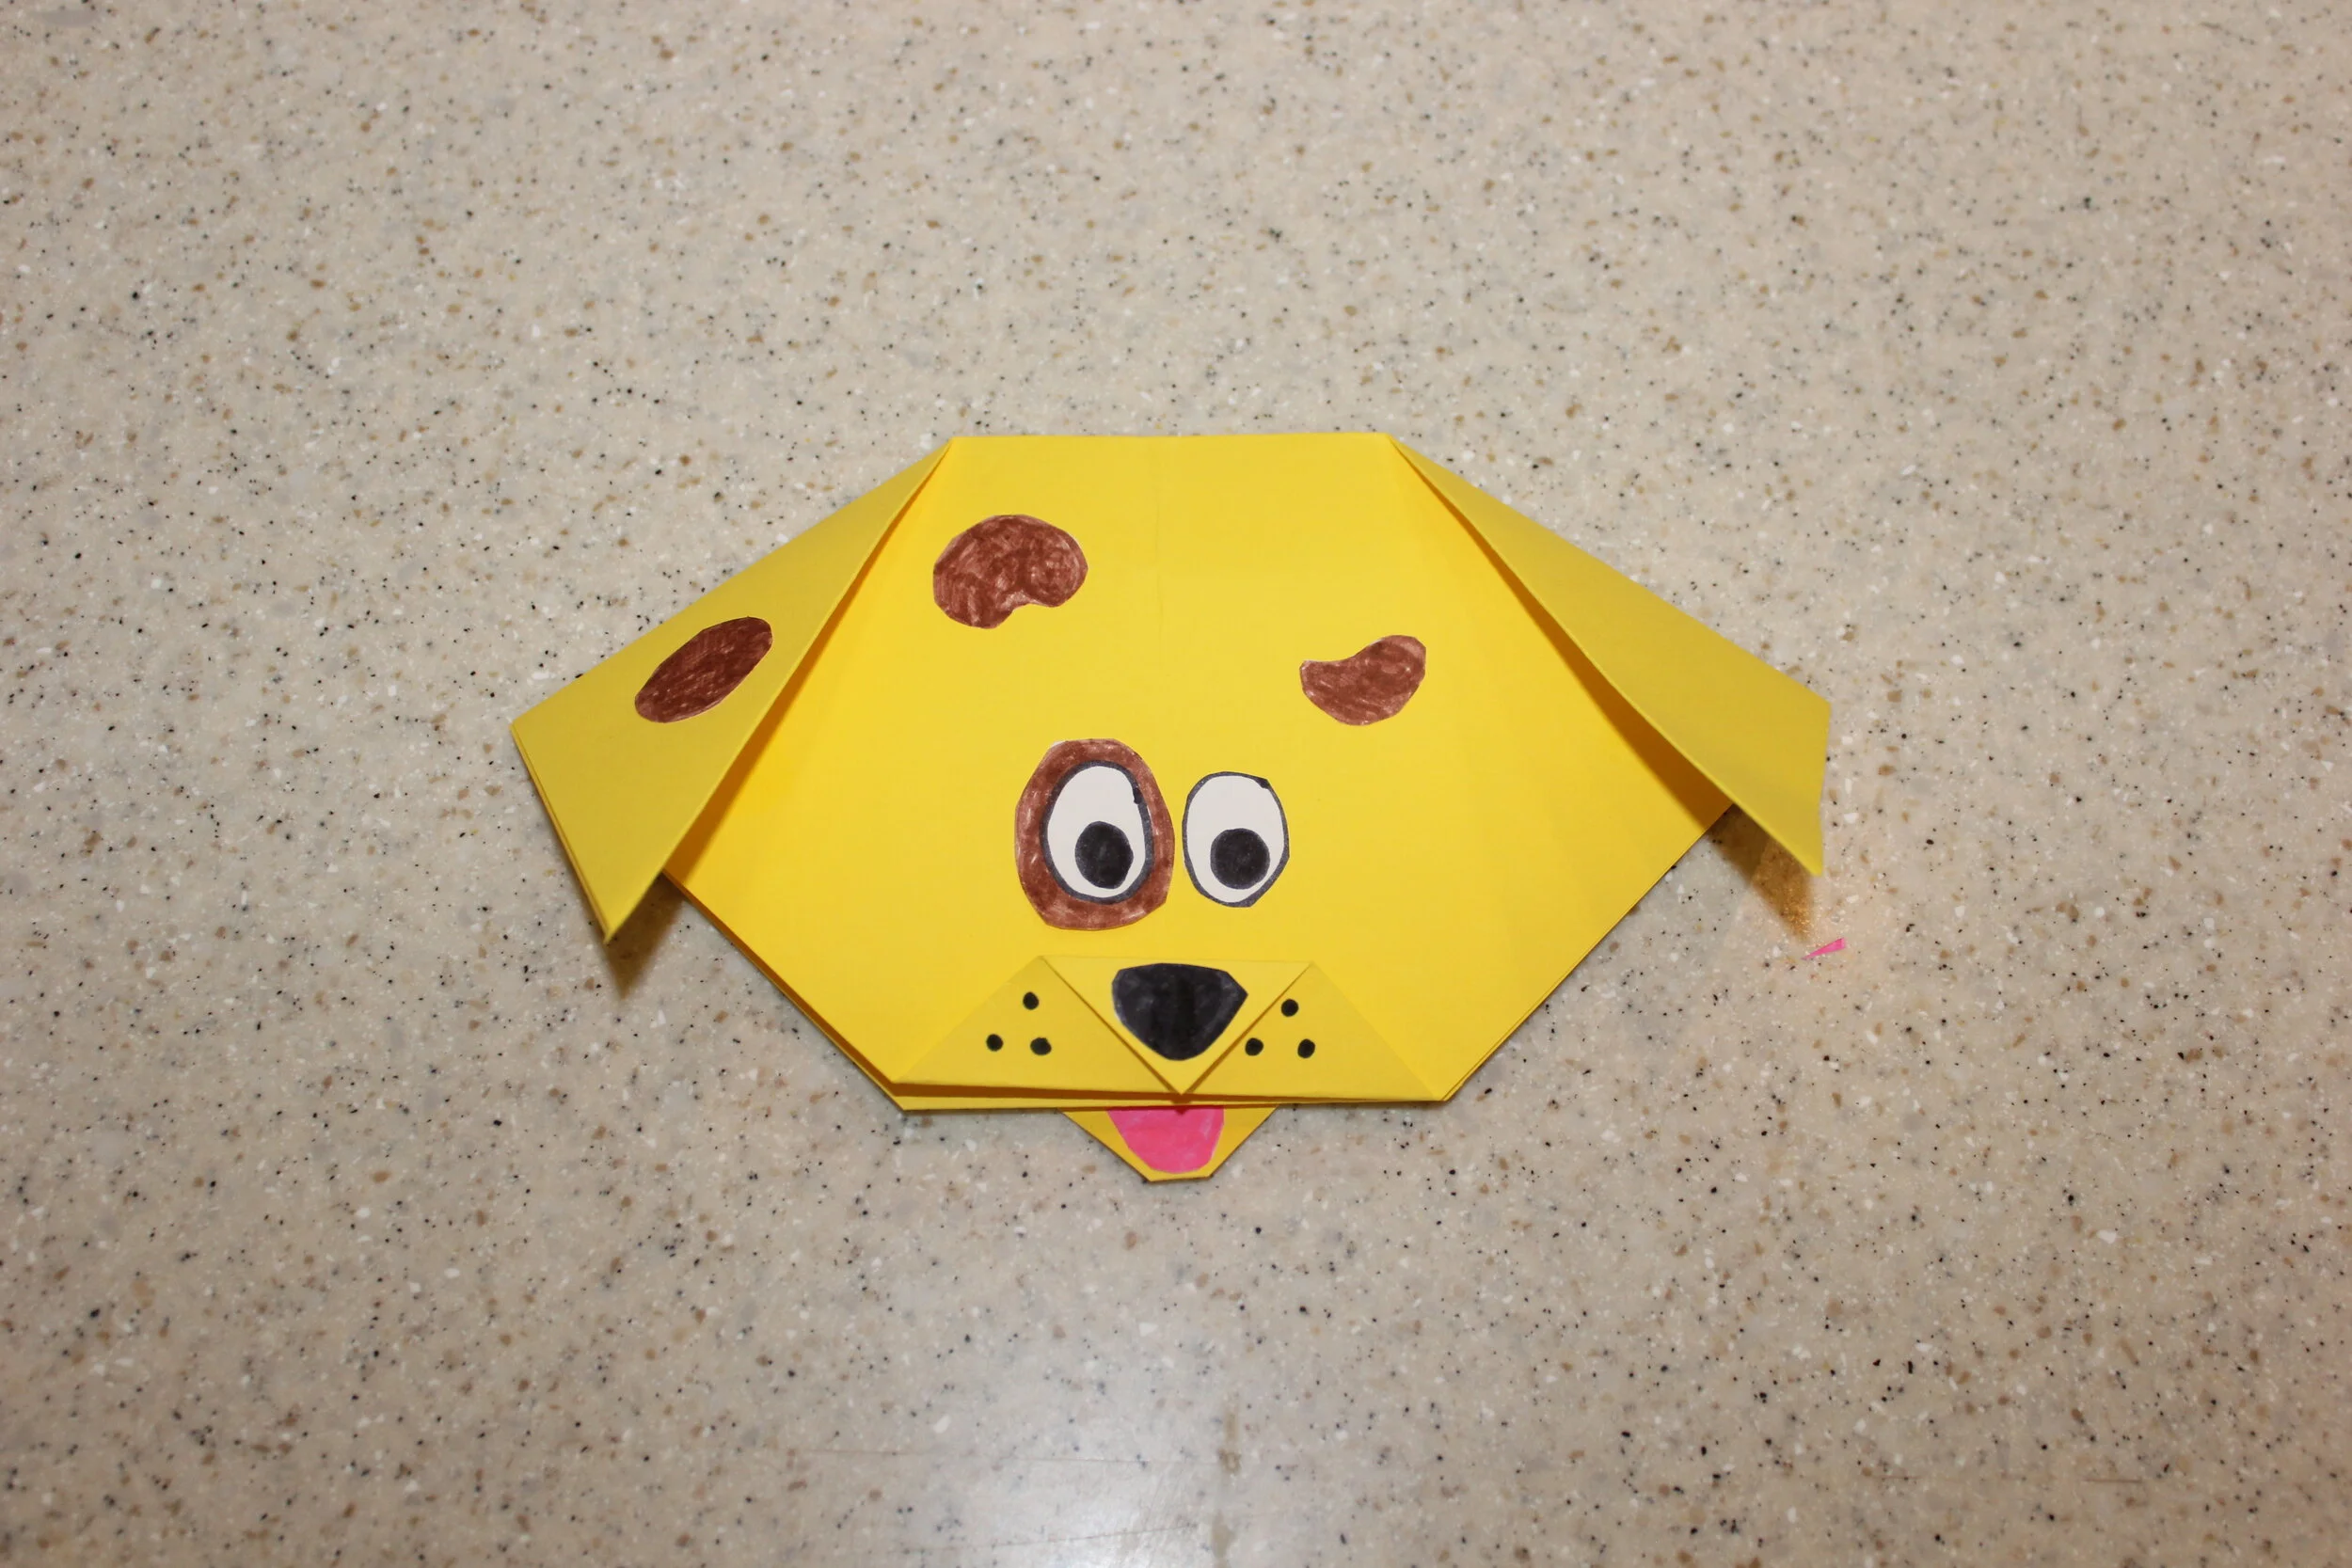
Congratulations! You have created your origami dog!
How to create an origami cat
Creating your diamond
Take your A4 or square sheet of coloured paper (this will be the body colour of your cat).
Fold it over one corner to create a triangle.
Cut off the excess (ask an adult for help as scissors can be sharp). You will not need to do this if you already have a square sheet of paper.
Rotate your triangle so the folded long edge is at the bottom and the open point is at the top (refer to last photo).
Creating your cat’s ears
Pinch the triangle in half (to make a crease at the base).
Fold this back open.
At the crease fold up the two bottom corners at an angle, leaving a small gap at the top of the middle triangle. You have now created your cat’s ears!
Creating your cat’s face
Fold the bottom and top corners up.
Fold the left and right corners in.
This is rounding out the shape of your cats face. Flip your cat over. You have now created your cat’s face!
Decorating your cat
This is the fun part, its time to decorate your cat!
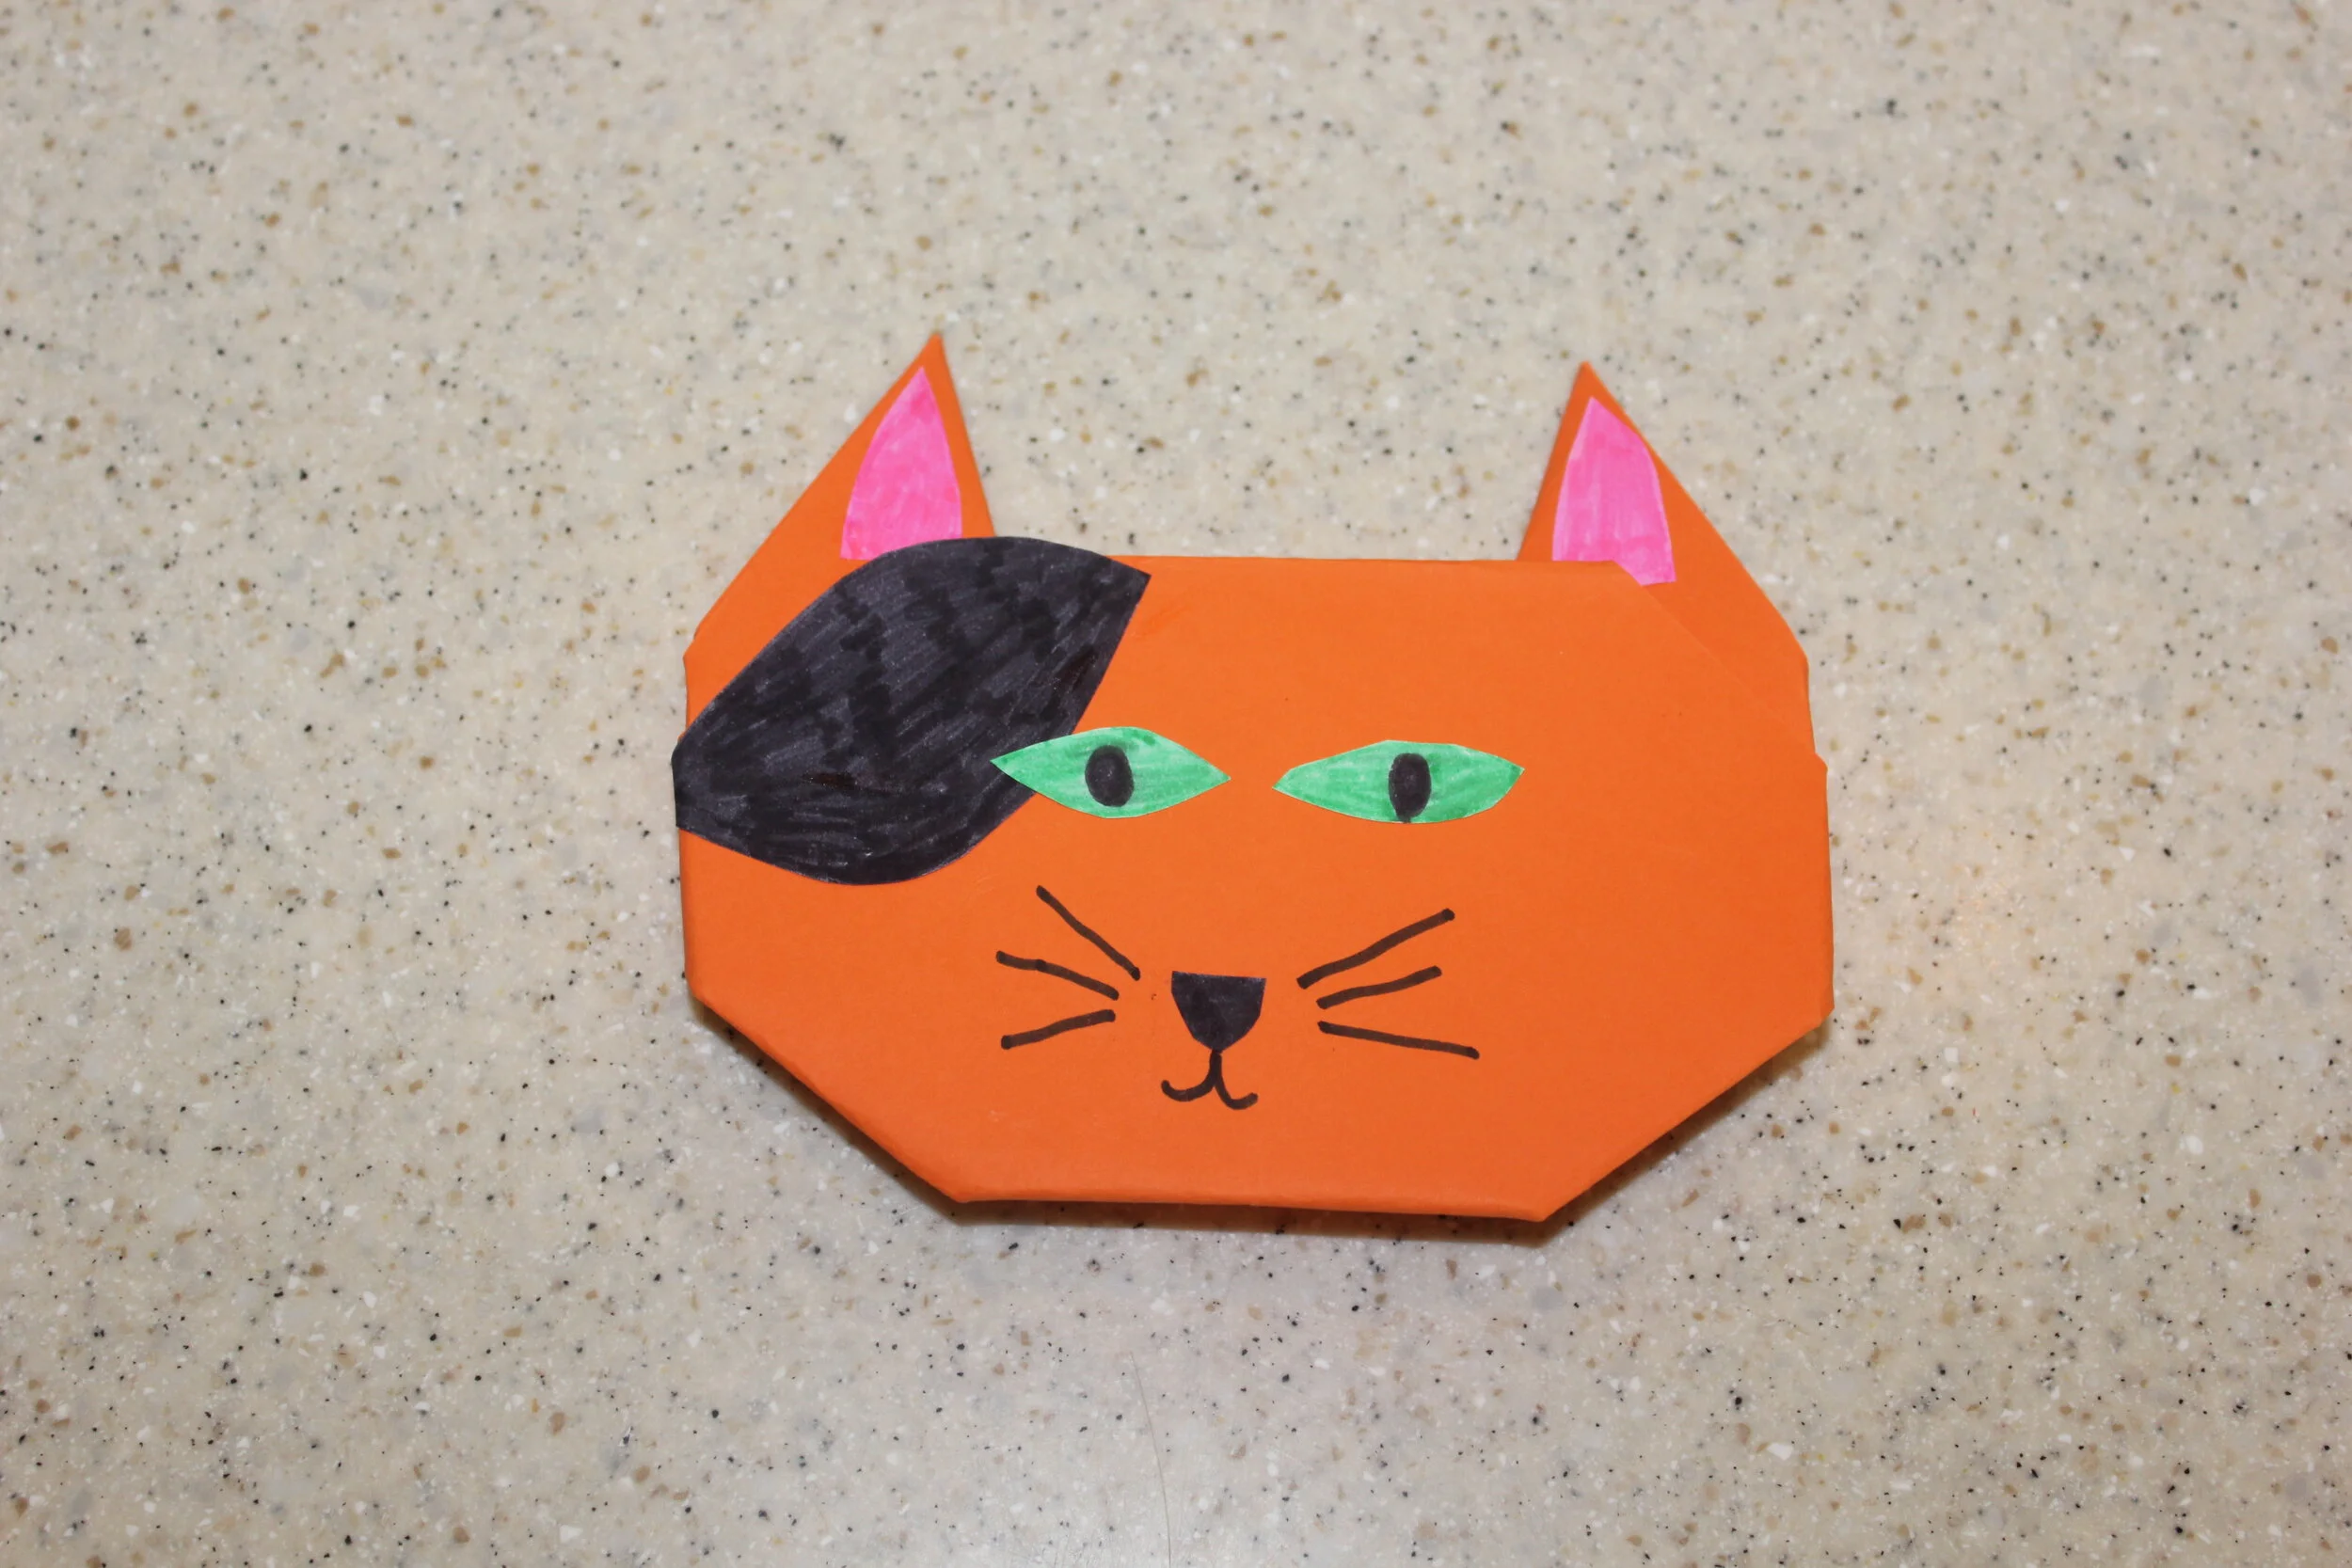
Grab your white paper and draw a nose, eyes, ears and patches (or any other special markings that your pet has).
Colour these in and cut them out. You can also use coloured paper instead.
Experiment around to see where you would like these extra pieces, then glue them down with a glue stick. Draw on some whiskers and a mouth.
Congratulations! You have created your origami cat!
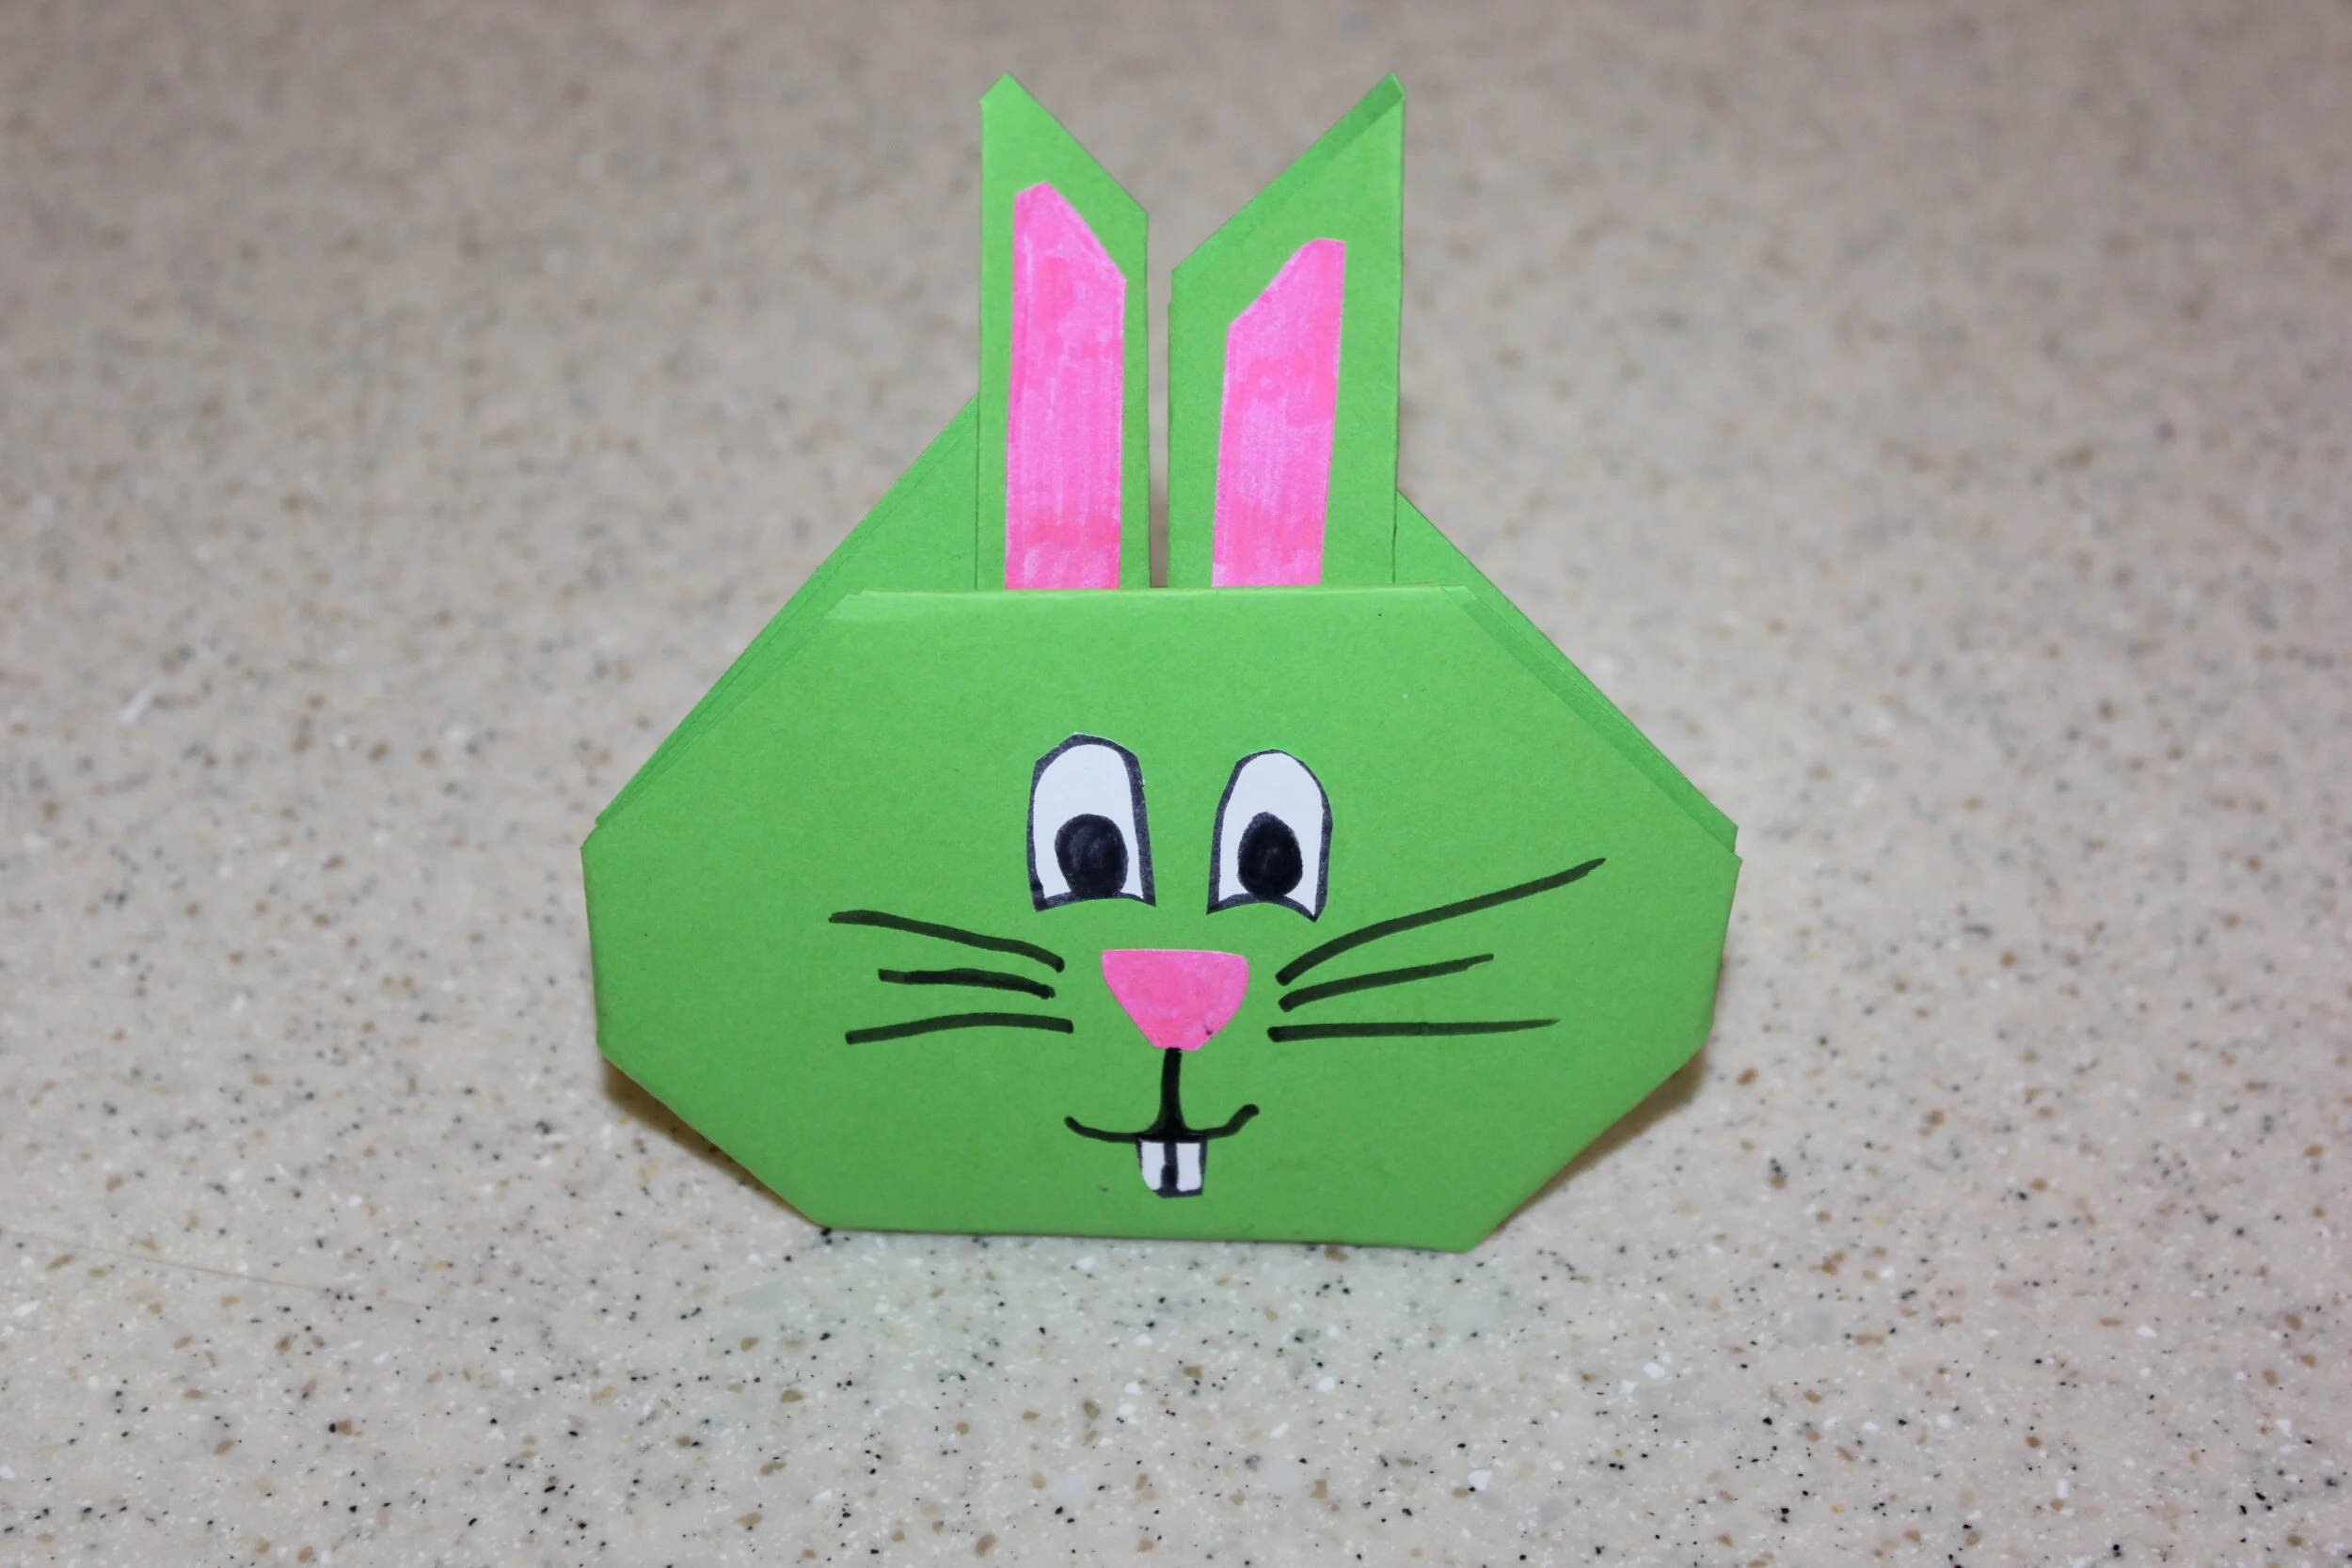
How to make an origami rabbit
Creating your diamond
Take your A4 or square sheet of coloured paper (this will be the body colour of your rabbit).
Fold it over one corner to create a triangle.
Cut off the excess (ask an adult for help as scissors can be sharp). You will not need to do this if you already have a square sheet of paper.
Rotate your triangle so the folded long edge is at the bottom and the open point is at the top (refer to last photo).
Creating your rabbit’s ears
Fold a small section up at the base of the triangle (this will be the width of your rabbit’s ears).
Pinch the triangle in half (to make a crease at the base).
Fold this back open.
At the crease fold up the left and right sides to the top point of the triangle. You have now created your rabbit’s ears!
Creating your rabbit’s face
Open the last folds back up.
Fold down the top point, then refold the ears back up.
Flip your rabbit over. Next fold up the bottom point, then fold in the left and right hand sides.
This will round out the shape of your rabbit’s face. Flip your rabbit over. You have now created your rabbit’s face!
Decorating your rabbit
This is the fun part, its time to decorate your rabbit!
Grab your white paper and draw a nose, eyes, ears and teeth (or any other special markings that your pet has).
Colour these in and cut them out. You can also use coloured paper instead.
Experiment around to see where you would like these extra pieces, then glue them down with a glue stick. Draw on some whiskers and a mouth.
Congratulations! You have created your origami rabbit!
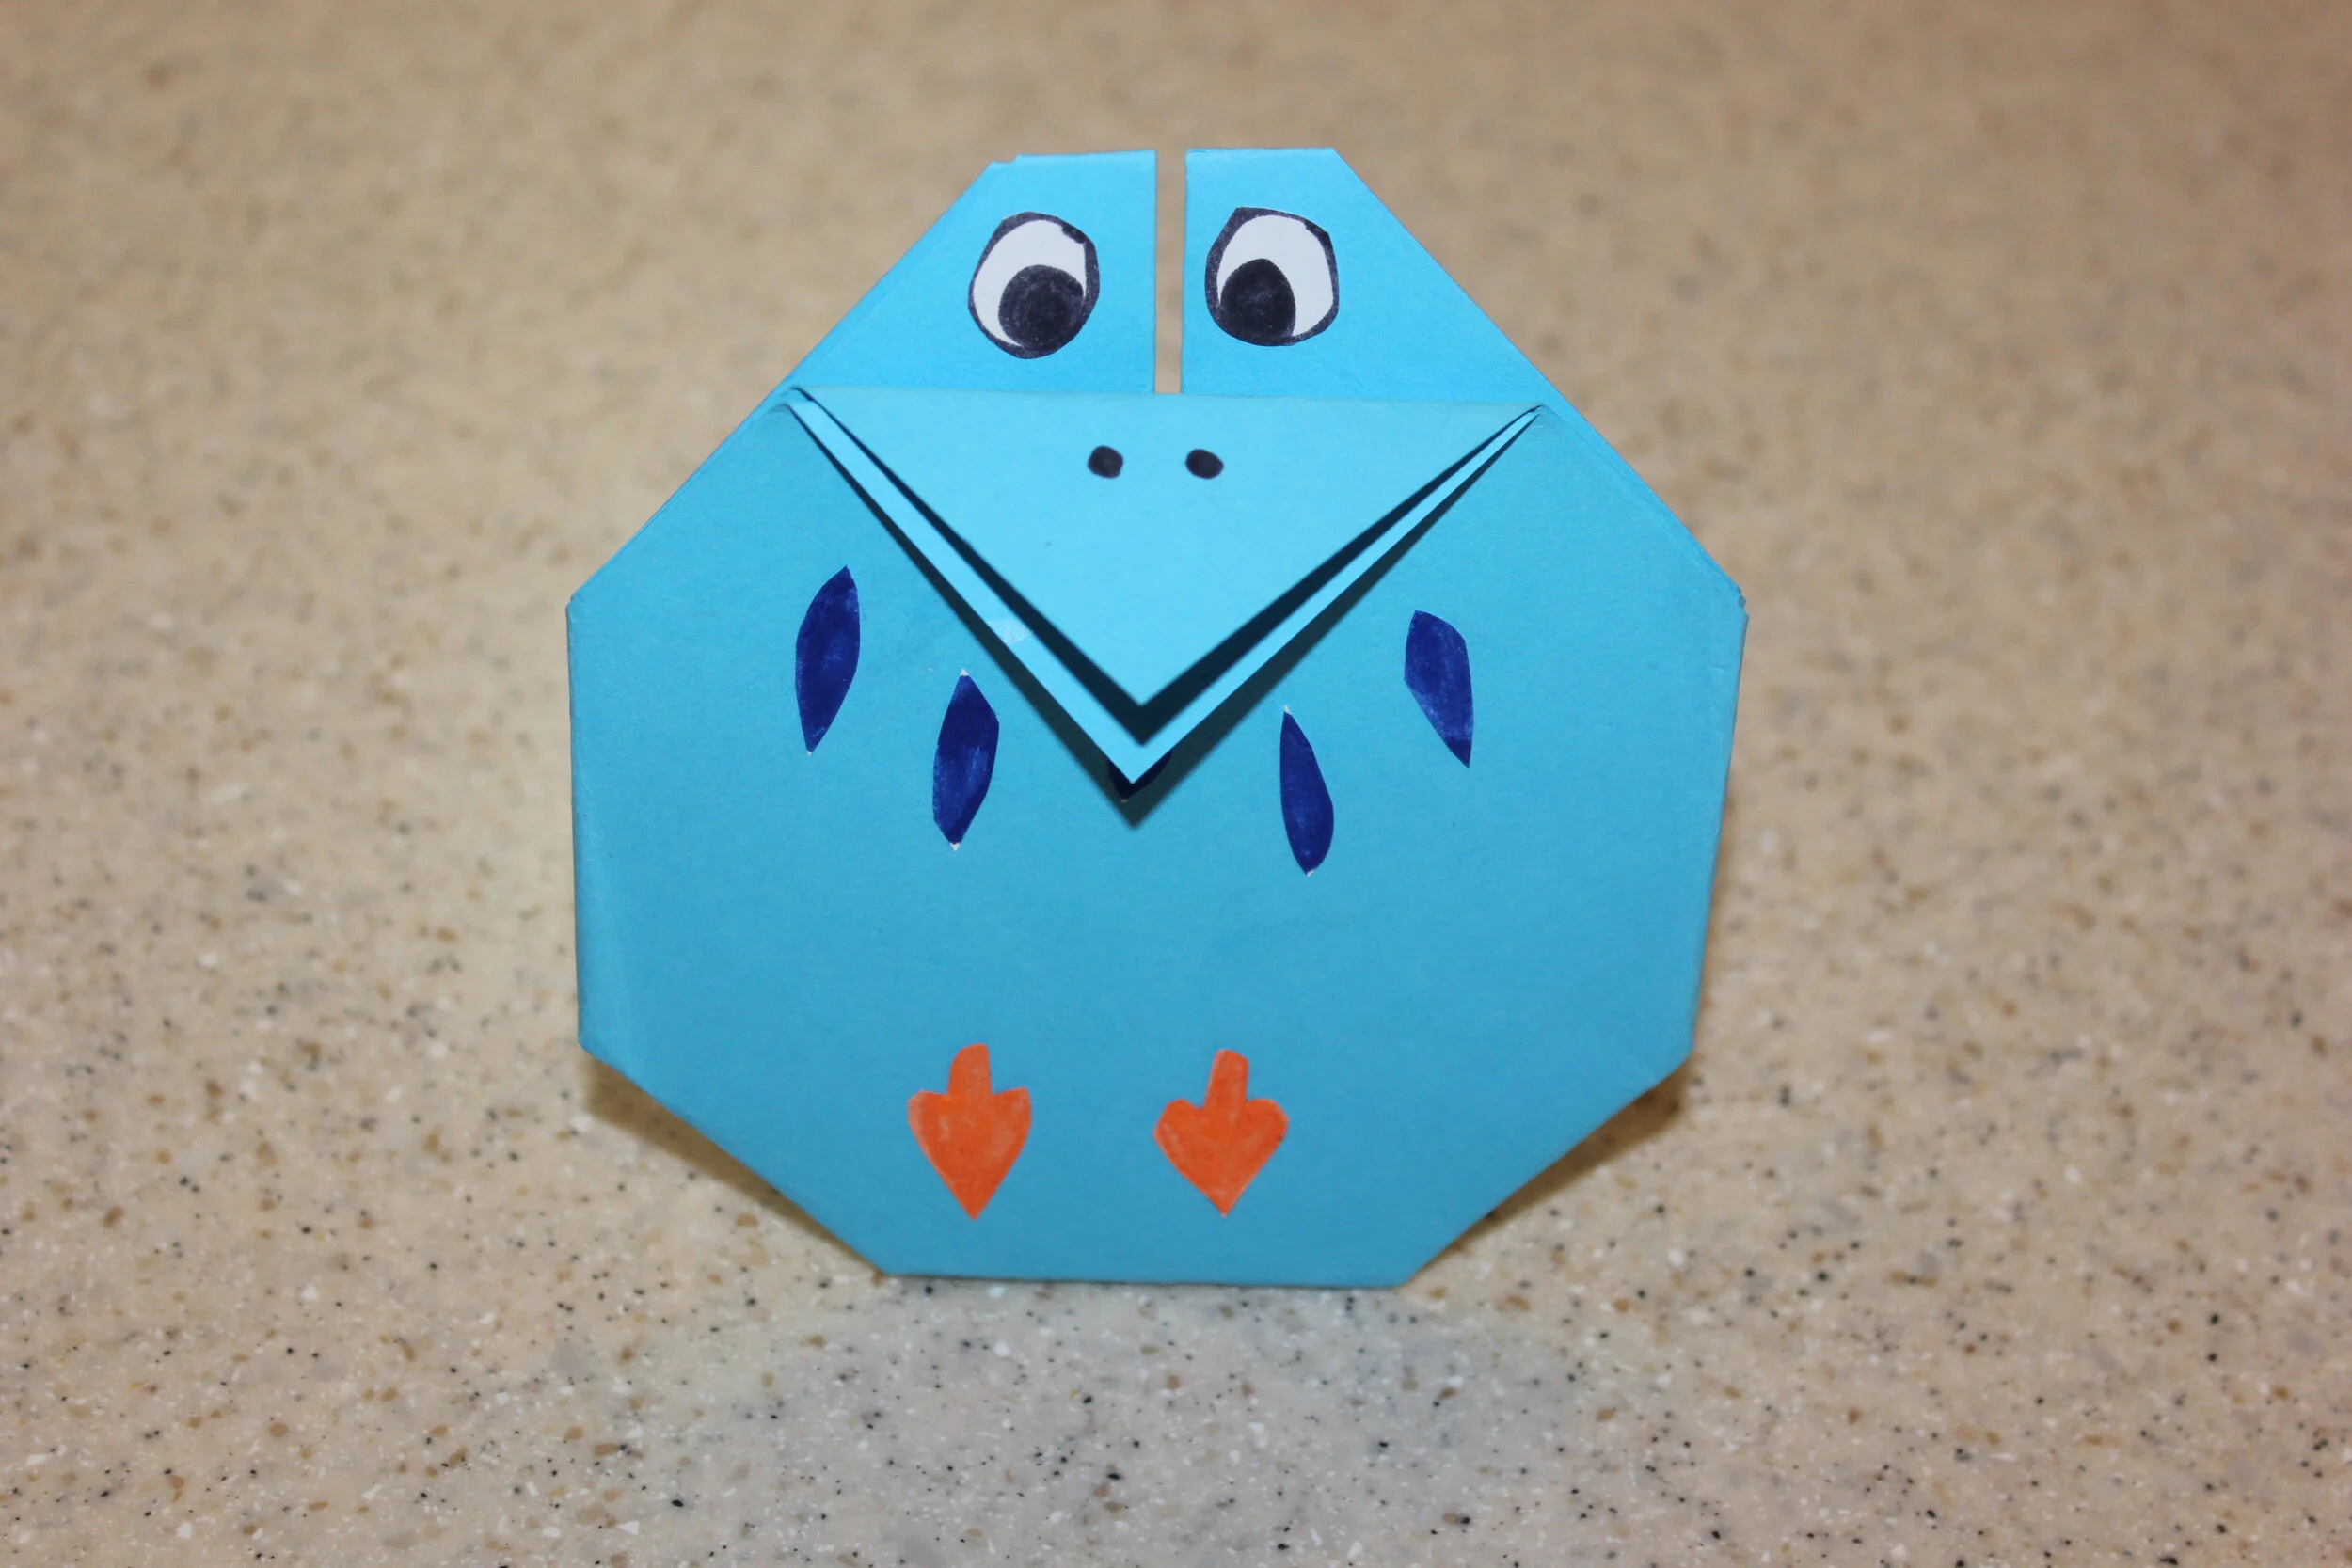
How to make an origami bird
Creating your diamond
Take your A4 or square sheet of coloured paper (this will be the body colour of your bird).
Fold it over one corner to create a triangle.
Cut off the excess (ask an adult for help as scissors can be sharp). You will not need to do this if you already have a square sheet of paper.
Rotate your triangle so the folded long edge is at the bottom and the open point is at the top (refer to last photo).
Creating your bird’s body & wings
At the crease fold up the two bottom corners to the top point of the triangle.
Fold up the bottom point. Next, fold in the left and right hand sides (these are your birds wings).
Flip your bird over. You have now created your bird’s body & wings!
Creating your bird’s beak
Fold down the front two pages at the tip of your birds body. Seperate these to form an open beak.
Flip your bird over and fold down the top two points. This will make your birds head more rounded.
Flip your bird back over. You have now created your bird, its time to start decorating!
Decorating your bird
This is the fun part, its time to decorate your bird!
Grab your white paper and draw some eyes, feathers and feet (or any other special markings that your pet has).
Colour these in and cut them out. You can also use coloured paper instead.
Experiment around to see where you would like these extra pieces, then glue them down with a glue stick. Draw on some black dots for nostrils.
Congratulations! You have created your origami bird!

